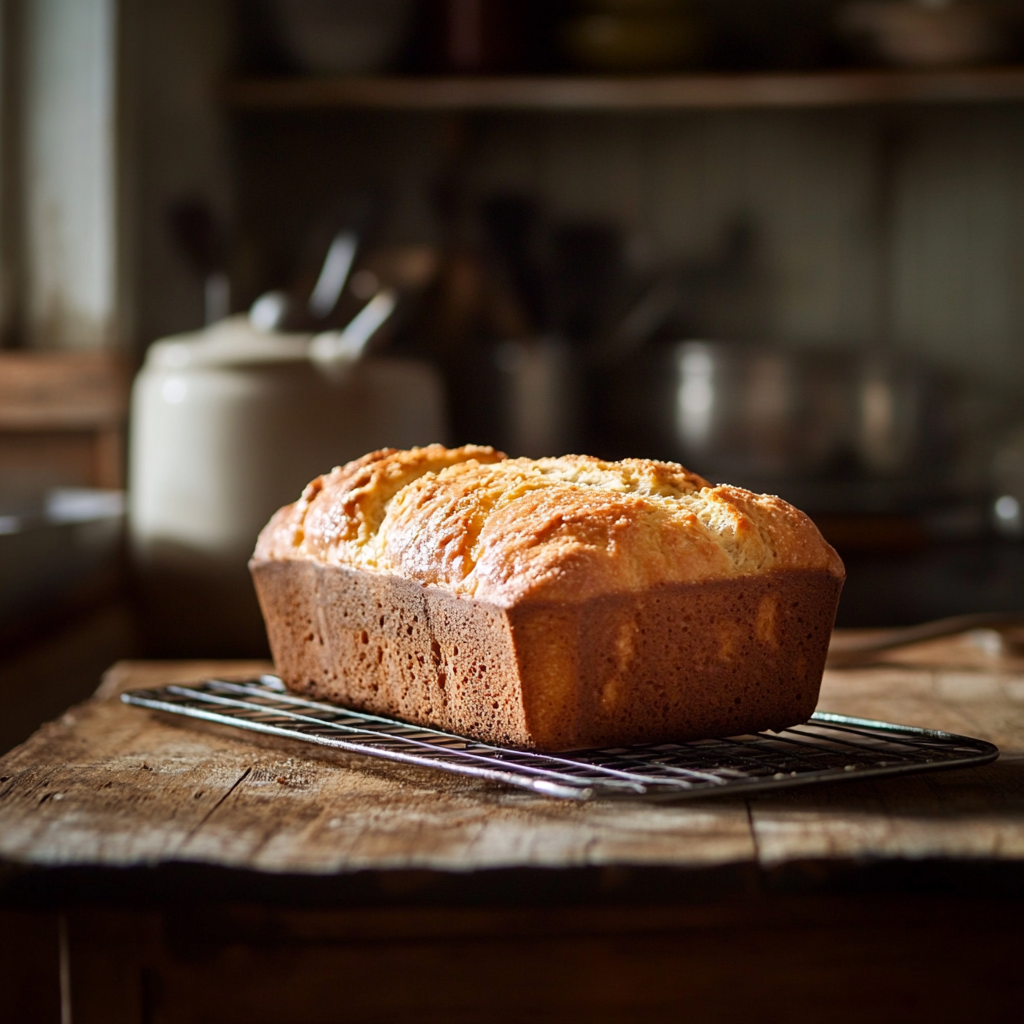
This recipe is for people on the Stage 4 GAPS Diet. It is an egg-free bread made with coconut flour. This bread is not only gut-friendly but also satisfying and easy to make.
Key Takeaways
- Learn about the GAPS Diet and the significance of Stage 4.
- Discover a nutritious, egg-free bread recipe suitable for the GAPS Diet.
- Gain insights into baking tips for gluten-free and egg-free bread.
- Explore ingredient substitutions to cater to dietary needs.
- Find serving suggestions to enjoy your GAPS Diet bread.
Understanding the GAPS Diet
The Gut and Psychology Syndrome (GAPS) Diet is a nutritional protocol developed by Dr. Natasha Campbell-McBride. It’s designed to heal the gut lining and restore the balance of gut flora. The diet focuses on easy-to-digest, nutrient-rich foods. It aims to reduce symptoms of autism, ADHD, dyslexia, depression, and more.
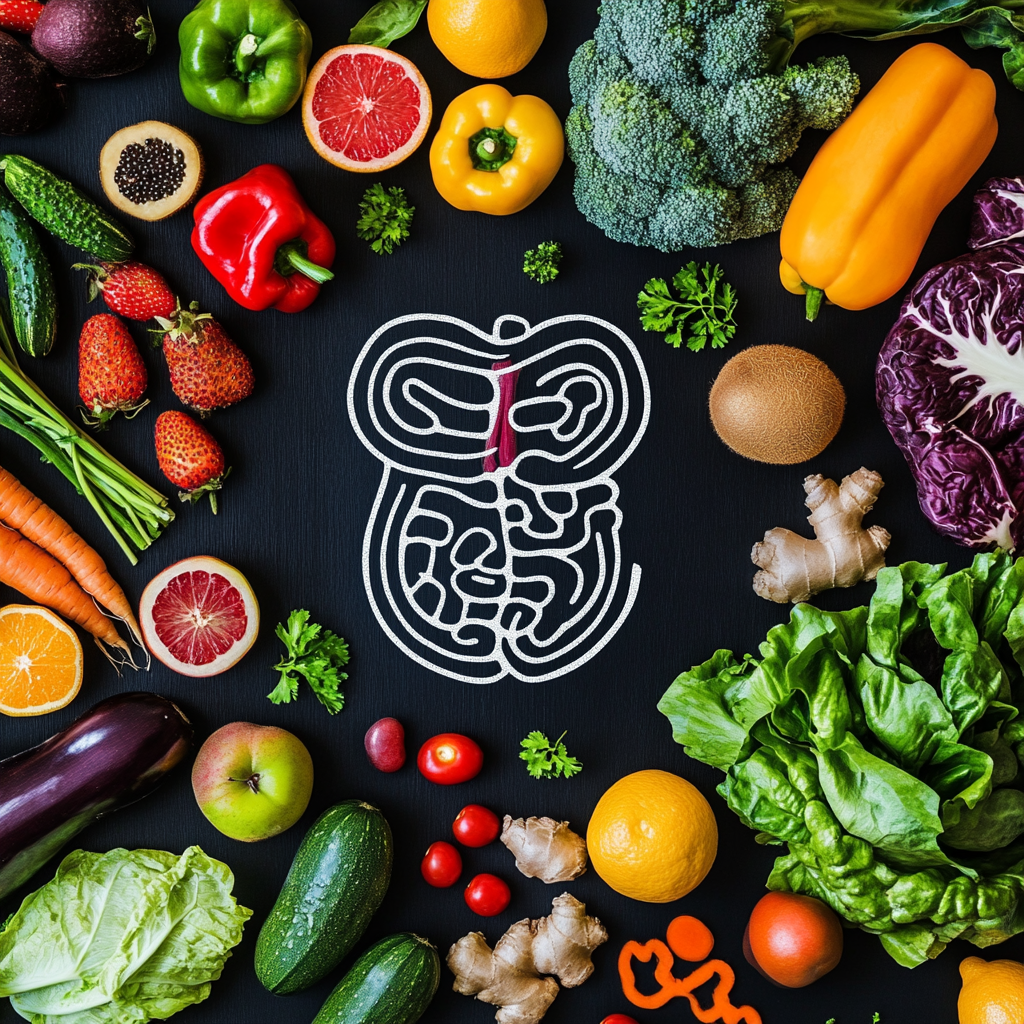
The GAPS Diet is structured into six stages, each gradually reintroducing foods to monitor the body’s reactions. This methodical approach helps identify and eliminate foods that may cause sensitivities or hinder gut healing.
What is Stage 4 of the GAPS Diet?
Stage 4 marks a pivotal point in the GAPS Diet journey. At this stage, you can begin to reintroduce more complex foods, including baked goods made with specific flours. The goal is to diversify your diet while still supporting gut healing.
Foods Introduced in Stage 4
- Baked goods: Made with almond flour and coconut flour.
- Cold-pressed oils: Such as olive oil and coconut oil.
- Freshly pressed juices: From allowed fruits and vegetables.
- Raw vegetables: Gradually introduced, starting with lettuce and peeled cucumbers.
Looking for more gut-friendly meal ideas? Check out our lunch recipes for inspiration.
Benefits of the GAPS Diet
Following the GAPS Diet can lead to numerous health improvements:
- Enhanced Digestive Health: Reduced symptoms like bloating, gas, and constipation.
- Improved Mental Well-being: Alleviation of anxiety, depression, and other psychological symptoms.
- Stronger Immune System: Better resistance to infections and illnesses.
- Increased Energy Levels: Feeling more vibrant and less fatigued.
These benefits stem from the diet’s focus on healing the gut, which plays a crucial role in overall health.
For an in-depth look at the GAPS Diet, visit the GAPS Diet official website.
Stage 4 GAPS Diet Bread Recipe Without Eggs
Now, let’s dive into the star of the show—a delicious, egg-free bread recipe that’s compliant with Stage 4 of the GAPS Diet.
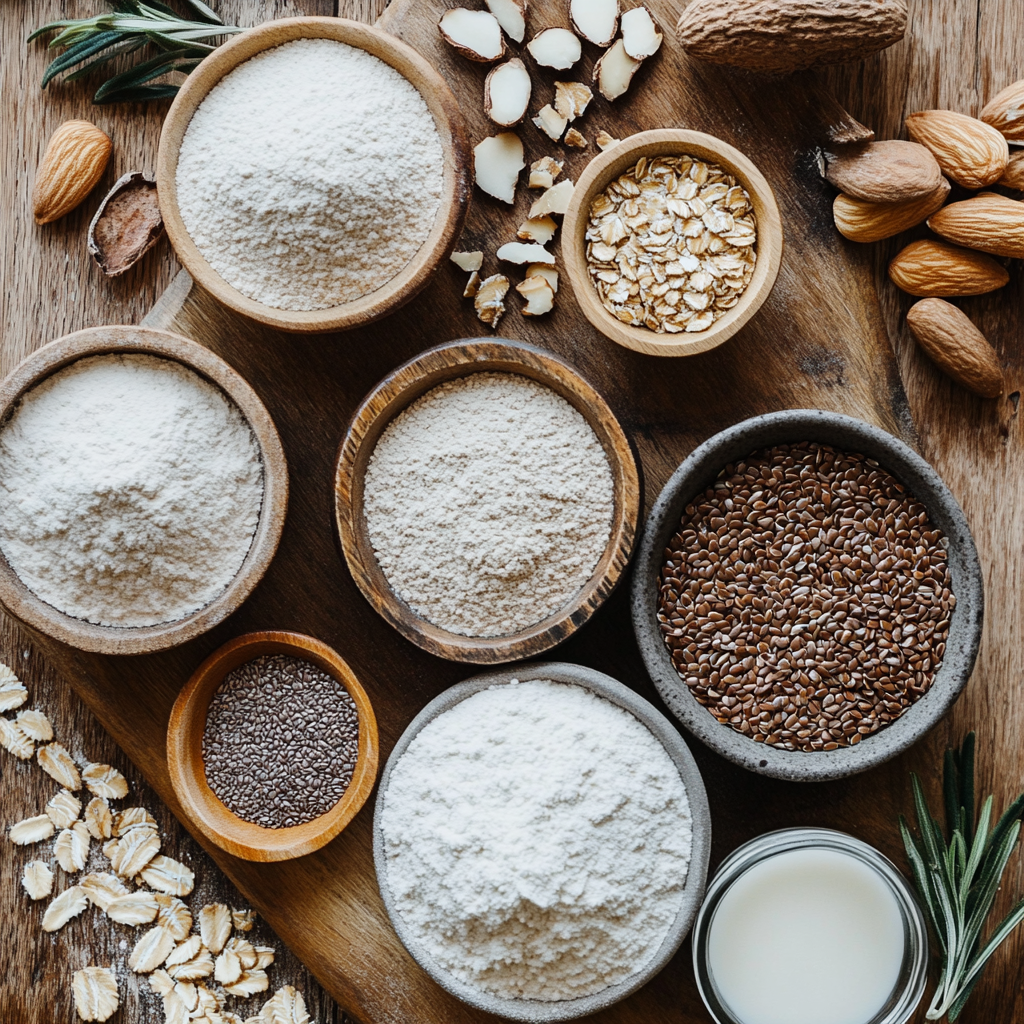
Ingredients Needed
- 1 cup coconut flour
- 1 cup almond flour
- 1 teaspoon baking soda
- 1 teaspoon sea salt
- 1 tablespoon apple cider vinegar
- 1/4 cup melted coconut oil
- 1 1/2 cups warm water (more if needed)
- 2 tablespoons ground flaxseed (for flaxseed gel)
- 6 tablespoons warm water (for flaxseed gel)
Step-by-Step Instructions
Preparing the Flaxseed Gel (Egg Substitute)
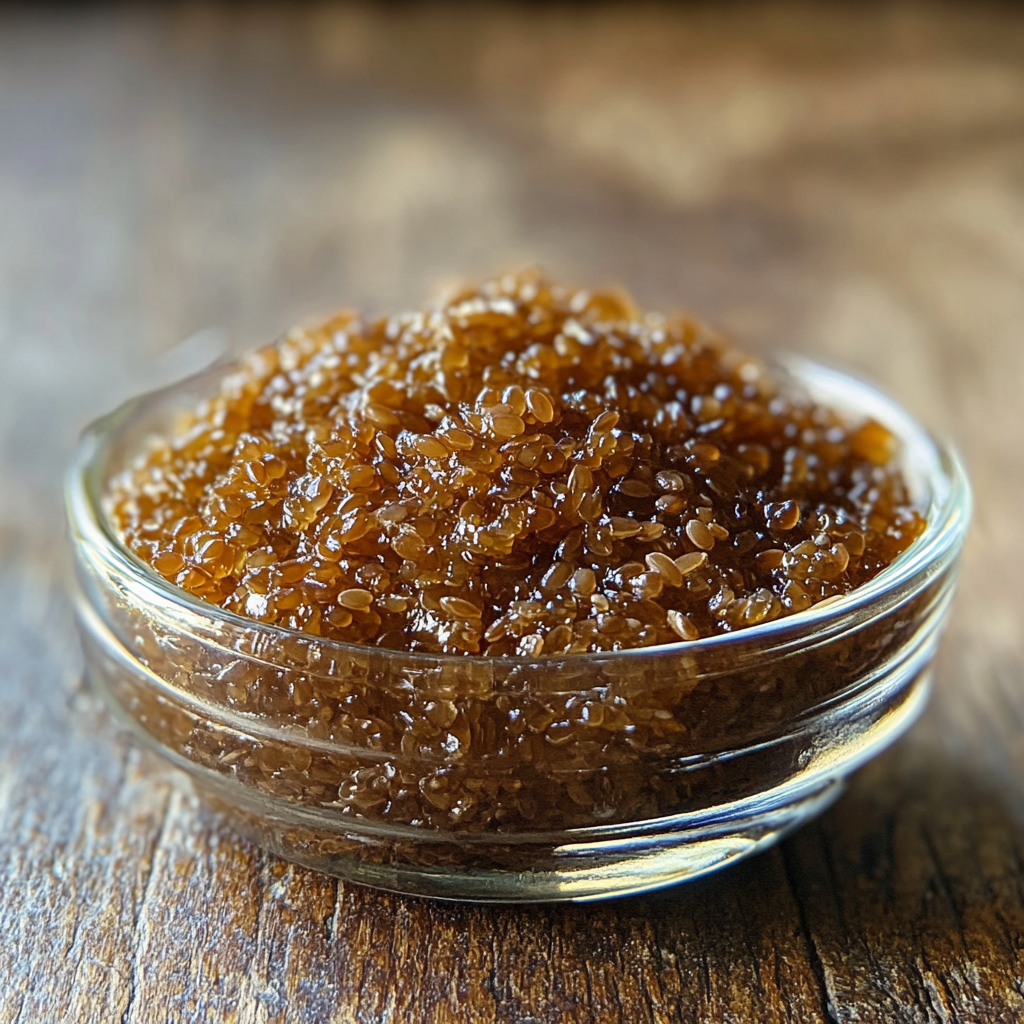
- Make the Flaxseed Gel: In a small bowl, combine 2 tablespoons of ground flaxseed with 6 tablespoons of warm water. Stir well and let it sit for about 10 minutes until it forms a gel-like consistency.
Mixing the Dry Ingredients
- Mix the dry ingredients. In a large bowl, combine 1 cup of coconut flour and 1 cup of almond flour. Add 1 teaspoon of baking soda and 1 teaspoon of sea salt. Whisk everything together until well mixed.
Incorporating Wet Ingredients
- Add the wet ingredients. Put the flaxseed gel into the dry mixture. Then, add 1 tablespoon of apple cider vinegar. Finally, add 1/4 cup of melted coconut oil.
- Mix Thoroughly: Gradually pour in 1 1/2 cups warm water, stirring continuously. The batter should be thick but pourable. If it’s too thick, add more warm water, a tablespoon at a time.
For more gluten-free baking ideas, explore our snacks recipes section.
Accurate measuring of ingredients is crucial when following this Stage 4 GAPS Diet bread recipe without eggs: a comprehensive guide. Precise measurements ensure the bread’s texture and flavor turn out as intended. Additionally, don’t forget to grease the loaf pan thoroughly with coconut oil or line it with parchment paper. This step prevents the bread from sticking and makes it easier to remove after baking.
Preparing to Bake
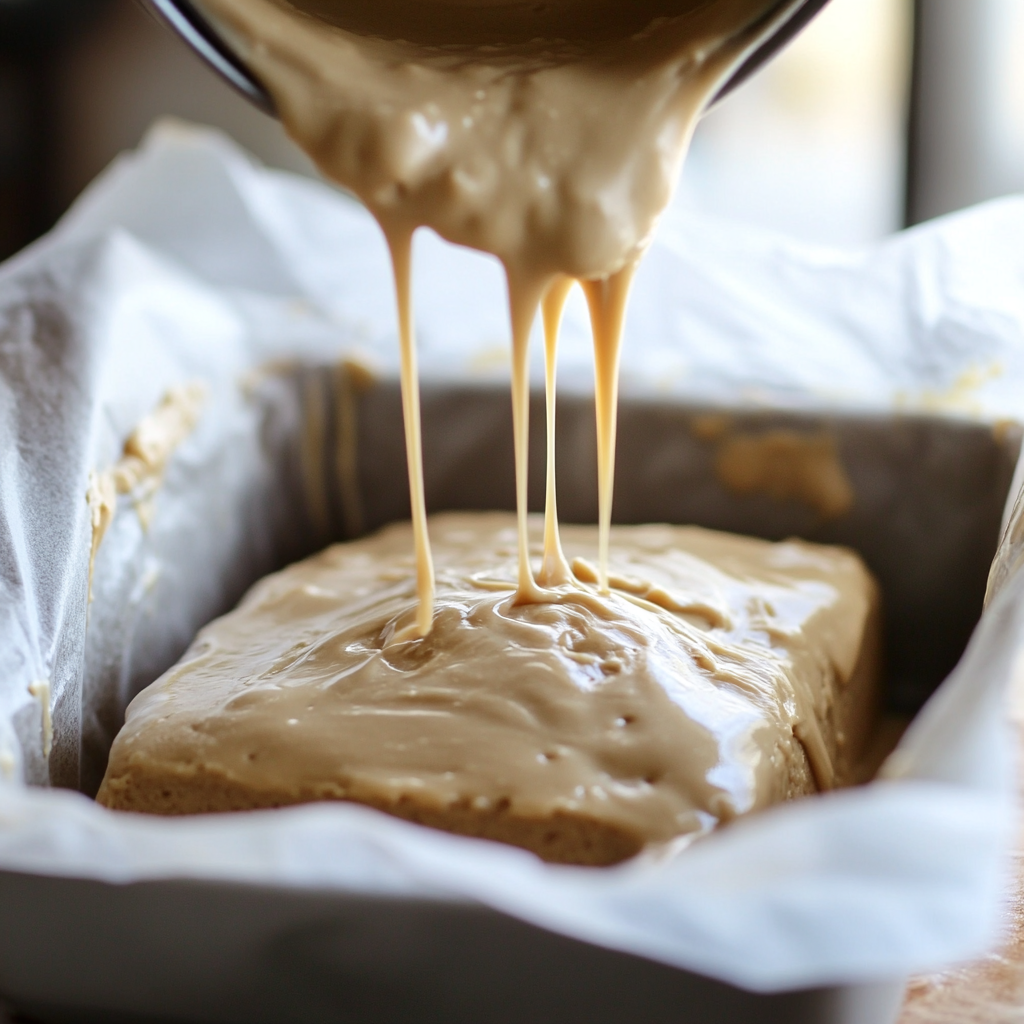
- Preheat the Oven: Preheat your oven to 350°F (175°C). Line a loaf pan with parchment paper or lightly grease it with coconut oil.
- Transfer to Loaf Pan: Pour the batter into the prepared loaf pan, smoothing the top with a spatula.
Baking the Bread
- Bake: Place the loaf pan in the preheated oven. Bake for 50-60 minutes or until the top is golden brown and a toothpick inserted into the center comes out clean.
- Cool the Bread: Remove the bread from the oven. Let it cool in the pan for 10 minutes before transferring it to a wire rack to cool completely.
Tips for Baking GAPS Diet Bread
Baking without traditional ingredients can be challenging. Here are some tips to ensure your bread turns out perfectly:
Managing Moisture Levels
- Consistency is Key: Coconut flour absorbs a lot of moisture. Adjust the water quantity as needed to achieve a batter that’s thick but still pourable.
- Avoid Overmixing: Mix until ingredients are just combined to prevent a dense loaf.
Using Binders
- Flaxseed Gel: Acts as an excellent egg substitute, helping to bind the ingredients together.
- Chia Seeds: Can also be used similarly to flaxseeds for binding.
Baking Time and Temperature
- Monitor Closely: Ovens vary, so start checking your bread at the 50-minute mark.
- Avoid Overbaking: Overbaking can lead to a dry loaf. Remove the bread once it’s golden and passes the toothpick test.
For more gluten-free baking tips, visit Beyond Celiac.
Substitutes for Common Ingredients
Adjusting recipes to meet dietary needs is essential. Here are some substitutions:
Flours
- Sunflower Seed Flour: Can replace almond flour for a nut-free option.
- Hazelnut Flour: Adds a unique flavor profile if almond flour isn’t preferred.
Oil
- Olive Oil: Can substitute coconut oil, though it may alter the flavor slightly.
Binders
- Chia Seed Gel: Use in the same ratio as flaxseed gel.
- Agar-Agar: A plant-based gelatin substitute that can help bind ingredients.
Check out our breakfast recipes for more ideas on starting your day right.
How to Serve Your GAPS Diet Bread
Enjoying your freshly baked bread is the best part. Here are some serving suggestions:
Savory Options
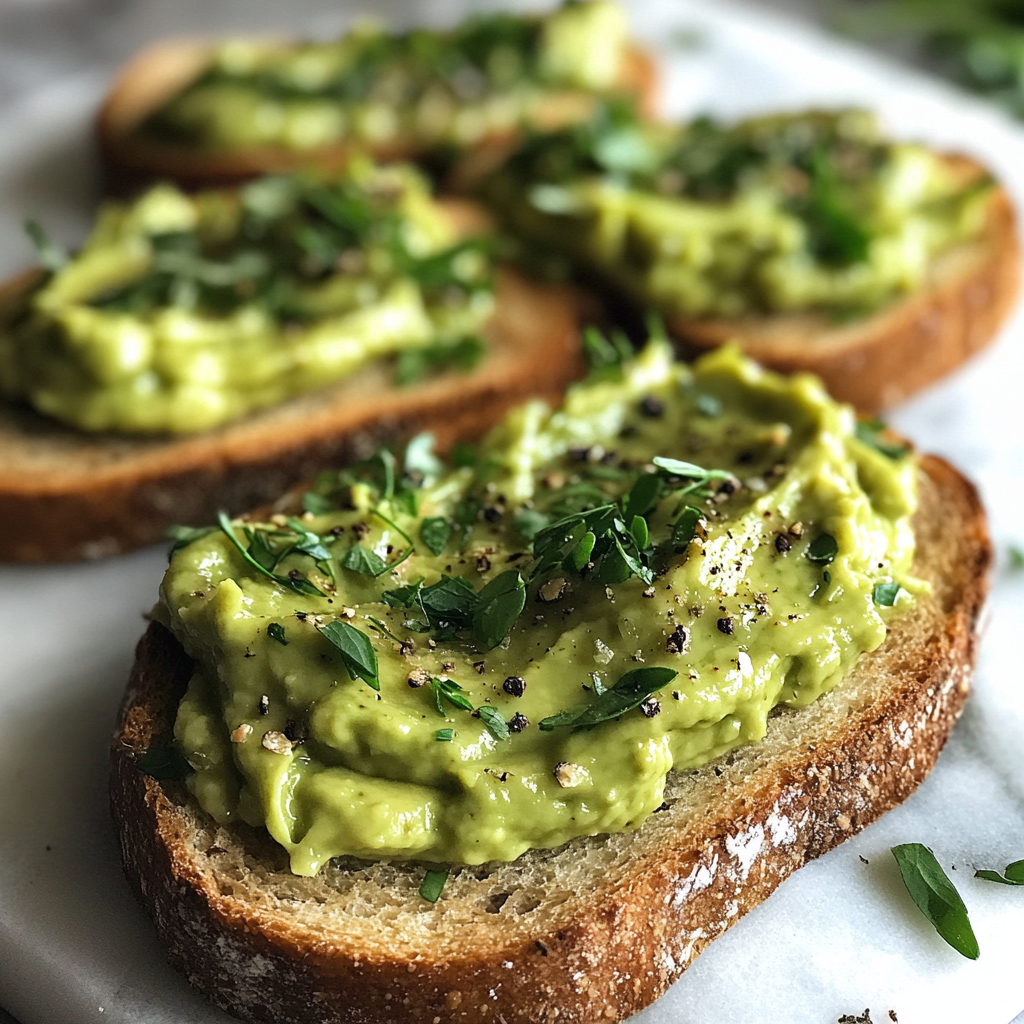
- Avocado Spread: Mash ripe avocado with a pinch of salt and spread it generously.
- Nut Butter: Almond or cashew butter adds protein and healthy fats.
- Homemade Bone Broth Soup: Dip slices into warm soup for a comforting meal.
Sweet Options
- Honey Drizzle: A light drizzle of raw honey for natural sweetness.
- Fruit Compote: Top with a homemade berry compote made from allowed fruits.
Accompaniments
- Fresh Salads: Pair with a crisp salad for a balanced meal.
- Grilled Vegetables: Serve alongside roasted or grilled veggies for added nutrients.
For delicious meal pairings, visit our dinner recipes.
Common Mistakes to Avoid When Baking
To ensure your bread turns out perfect, avoid these common pitfalls:
Incorrect Measurements
- Precision Matters: Use measuring cups and spoons for accuracy.
- Weigh Ingredients: For best results, use a kitchen scale to weigh flours.
Inadequate Mixing
- Even Distribution: Ensure all ingredients are well combined to prevent uneven baking.
- Overmixing: Stop mixing once everything is incorporated to avoid a tough texture.
Baking Temperature Errors
- Preheat the Oven: Always preheat to the correct temperature before baking.
- Oven Thermometer: Use one to ensure your oven’s temperature is accurate.
For more baking tips, check out The Kitchn’s baking guide.
Conclusion
Starting the GAPS Diet, especially reaching Stage 4, is an important step for better gut health and overall wellness. This egg-free bread recipe offers a delicious way to enjoy baked goods while adhering to the diet’s guidelines.
Using healthy ingredients like coconut flour and almond flour is good for your gut. It also allows you to enjoy tasty food. Remember, successful baking means following the recipe closely. Make adjustments when needed, and most importantly, enjoy the process.
At mixyrecipes.com, we’re committed to providing recipes that nourish both body and soul. Happy baking!
FAQ
1. What is the GAPS Diet?
The GAPS Diet is a therapeutic diet focused on healing the gut lining and restoring gut flora balance. Developed by Dr. Natasha Campbell-McBride, it connects digestive health with psychological well-being.
2. Why is Stage 4 of the GAPS Diet important?
Stage 4 allows for the introduction of more complex foods, including certain baked goods and raw vegetables. It’s a critical phase for expanding your diet while continuing to heal the gut.
3. Can I substitute flours in the GAPS Diet bread recipe?
Yes, you can use alternatives like sunflower seed flour or hazelnut flour instead of almond flour. This is helpful for those with nut allergies or different preferences.
4. What can I use instead of flaxseed gel as an egg substitute?
Chia seed gel is an excellent alternative. Mix 2 tablespoons of ground chia seeds with 6 tablespoons of warm water.
5. How should I store the GAPS Diet bread?
Store the bread in an airtight container at room temperature for up to 3 days. For longer storage, refrigerate for up to a week or freeze slices individually.
6. Can I add flavors to the bread?
Yes, you can add herbs like rosemary or thyme for a tasty twist. Just make sure they are allowed in your current GAPS Diet stage.
7. Is this bread suitable for other dietary needs?
This bread is gluten-free, dairy-free, and egg-free, making it suitable for various dietary restrictions beyond the GAPS Diet.
For more egg-free recipes, explore our dessert recipes.
Enjoyed this recipe? Share your creations with us on social media using the hashtag #mixyrecipes.
Subscribe to our newsletter for more nourishing recipes and wellness tips delivered straight to your inbox.
This recipe is brought to you by mixyrecipes, your trusted source for delicious and healthy recipes that support your wellness journey.
