Introduction For Beach Plum Jelly Recipe
If you’ve ever strolled along the sandy shores of Cape Cod or other coastal regions of the Northeast, you may have noticed small, colorful ripe beach plums growing wild in the dunes. These unique, tart fruits have been cherished for centuries, and one of the best ways to preserve their vibrant flavor is by making beach plum jelly. This homemade jelly, made from fresh beach plum juice, captures the essence of summer and transforms it into a spreadable delight perfect for any occasion.
In this comprehensive guide, we’ll take you through every step of creating your own beach plum jam or jelly, whether you’re looking to stock your pantry or gift jars to loved ones. We’ll cover everything from the ingredients to variations, and include expert tips on how to get the most out of your beach plums. So grab your sterilized jars and your package of Certo liquid pectin—let’s get started!
Ingredients for the Perfect Beach Plum Jelly Recipe
What You’ll Need to Make Beach Plum Jelly
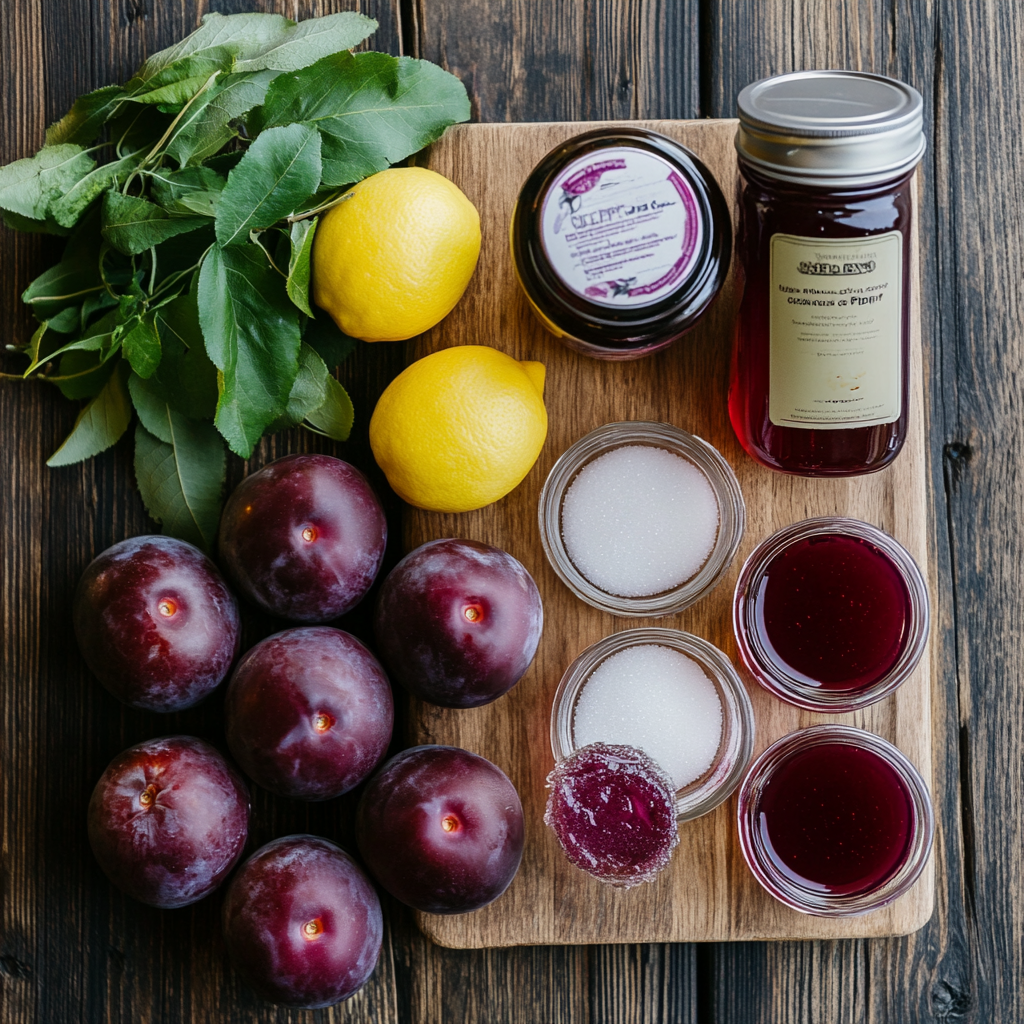
To make the best beach plum jelly, you’ll need a few key ingredients that bring out the sweet and tangy flavors of this coastal fruit. Here’s a detailed breakdown of everything required, along with some possible substitutions to suit dietary preferences:
Main Ingredients:
- 4 cups ripe beach plums: The core of your jelly, these tiny wild plums are known for their distinct tartness and slightly astringent flavor. Beach plums grow in sandy soils along the coast, often in places like Cape Cod, and are usually harvested late in summer.
- 5 cups of sugar: The sweetness of the sugar balances the tartness of the beach plum juice. If you want a lower-sugar option, you can substitute with a sweetener such as monk fruit or coconut sugar.
- 1 cup of water: Water helps extract the juice from the beach plums during the initial cooking phase.
- 1 package of Certo liquid pectin: Pectin is what allows your beach plum jelly to set properly. Liquid pectin like Certo is easy to work with and readily available at most grocery stores.
- 2 tablespoons of lemon juice: Lemon juice is not only a natural preservative but also helps the jelly reach the proper acidity for setting.
Possible Substitutions for Dietary Needs:
- If you prefer a sugar-free version of beach plum jam, use a no-sugar pectin and sweeten it with a sugar substitute like stevia or erythritol.
- For those avoiding processed sugars, you can replace the white sugar with natural sweeteners like honey or maple syrup, though note that honey is not vegan-friendly.
- Want to make your jelly more kid-friendly? Add a dash of vanilla extract to give it a more mellow, sweet flavor.
For more easy-to-make snack recipes that pair well with beach plum jelly, visit our Snacks section for delicious ideas to complement this recipe.

Essential Tools You’ll Need to Make Beach Plum Jelly
The Right Kitchen Equipment for Beach Plum Jelly Success
To make a perfect batch of beach plum jelly, having the right tools at your disposal is crucial. Thankfully, you don’t need specialized equipment, but there are a few essential kitchen gadgets that will make the process easier, and I’ll also share some alternatives you can use if you’re missing certain items.
Essential Kitchen Tools:
- Large saucepan or pot: You’ll need a large, deep pot to boil your beach plums and later for bringing the jelly mixture to a rolling boil. A pot with a thick base ensures even heating and prevents burning, which is key when working with high-sugar recipes.
- Potato masher: This is used to mash the ripe beach plums while cooking to extract as much juice as possible. If you don’t have one, you can use the back of a wooden spoon, though a potato masher makes it easier to break down the fruit.
- Cheesecloth or fine strainer: To strain the cooked beach plum juice, you’ll need a fine strainer or a piece of cheesecloth. The goal is to remove all seeds and pulp, leaving only the pure, tart juice. If you lack these, a clean kitchen towel will also work.
- Canning jars and lids: It’s essential to store your jelly properly to ensure its longevity. Use sterilized jars and lids to avoid contamination, especially if you plan to keep your jelly at room temperature for an extended time.
- Tongs or jar lifter: A jar lifter makes handling the hot jars easier and safer, especially when they come straight out of the boiling water bath. In a pinch, regular kitchen tongs will also work.
- Candy thermometer: Though optional, using a thermometer ensures your jelly reaches the correct temperature for setting. If you don’t have one, you can use the spoon test to check the jelly’s readiness.
For more recipes that use similar tools and techniques, check out our Dinner section for savory meals that make use of canning and boiling methods.
Step-by-Step Instructions: How to Make Beach Plum Jelly from Scratch
Detailed Directions for Perfect Beach Plum Jelly
Making beach plum jelly at home is a simple process that requires patience and attention to detail. Follow these steps closely to create a batch of delicious, homemade jelly that will have everyone asking for more. Whether you’re a seasoned home cook or a beginner, these instructions are straightforward and designed to guide you through each stage of the jelly-making process.
Step 1: Prepare the Beach Plums
Start by sorting through your ripe beach plums. Remove any stems, leaves, or damaged fruit. Rinse them thoroughly under cold water to ensure they are clean. Once clean, place the plums into a large saucepan or pot.
Step 2: Cook the Plums and Extract the Juice
Add 1 cup of water to the pot with the beach plums and set it on medium-high heat. Bring the mixture to a gentle boil. Once boiling, reduce the heat and let the mixture simmer for about 20-30 minutes. As the plums grow softer, use a potato masher to crush them and release their juices.
After the plums have softened and fully released their juices, strain the mixture through a cheesecloth or fine strainer into a large bowl, ensuring to extract as much beach plum juice as possible. Discard the leftover pulp and seeds. You should have about 4 cups of juice after straining.
Step 3: Combine the Juice, Sugar, and Lemon
Return the beach plum juice to the cleaned pot. Add 5 cups of sugar and 2 tablespoons of lemon juice, stirring well to dissolve the sugar. Turn the heat to medium-high and bring the mixture to a rolling boil, stirring occasionally to prevent sticking.
Step 4: Add the Liquid Pectin
Once the mixture is at a rolling boil, it’s time to add the package of Certo liquid pectin. Stir the liquid pectin into the pot while keeping the mixture boiling at high heat. Allow it to continue boiling for 1-2 minutes, stirring constantly to avoid burning. You will notice the jelly mixture begin to thicken slightly.
Step 5: Test for Doneness
To check if your jelly is ready to set, use the cold spoon test. Place a metal spoon in the freezer for a few minutes, then dip it into the boiling jelly. If the jelly clings to the spoon and forms a thick layer that doesn’t drip off easily, it’s ready. If the jelly is still too runny, boil for another 1-2 minutes and test again.
Step 6: Fill and Seal Your Sterilized Jars
Once your jelly has reached the proper consistency, remove the pot from heat. Using a funnel and ladle, carefully pour the hot jelly into sterilized jars, leaving about 1/4 inch of headspace at the top. Wipe the rims clean with a damp cloth, then secure the lids tightly.
Step 7: Process in a Boiling Water Bath
Place the filled jars in a large pot of boiling water for 10 minutes to process them and ensure a proper seal. This step is crucial for long-term storage at room temperature.
For more breakfast ideas that pair well with this jelly, check out our Breakfast section for creative ways to enjoy your homemade preserves.
Flavor Variations: Experiment with Beach Plum Jelly
Creative Ways to Customize Your Beach Plum Jelly
One of the joys of making your own beach plum jelly is that you can easily tweak the recipe to create exciting flavor combinations and dietary adaptations. Whether you’re looking for a sugar-free alternative, a more citrusy punch, or an herbed variation, the possibilities are endless.
Citrus Twist:
For those who love a bright, tangy flavor, add the zest of one lemon or lime to the jelly mixture while it’s cooking. This gives the jelly a slightly more intense citrus note that pairs beautifully with the tartness of the beach plum juice.
Herbal Infusion:
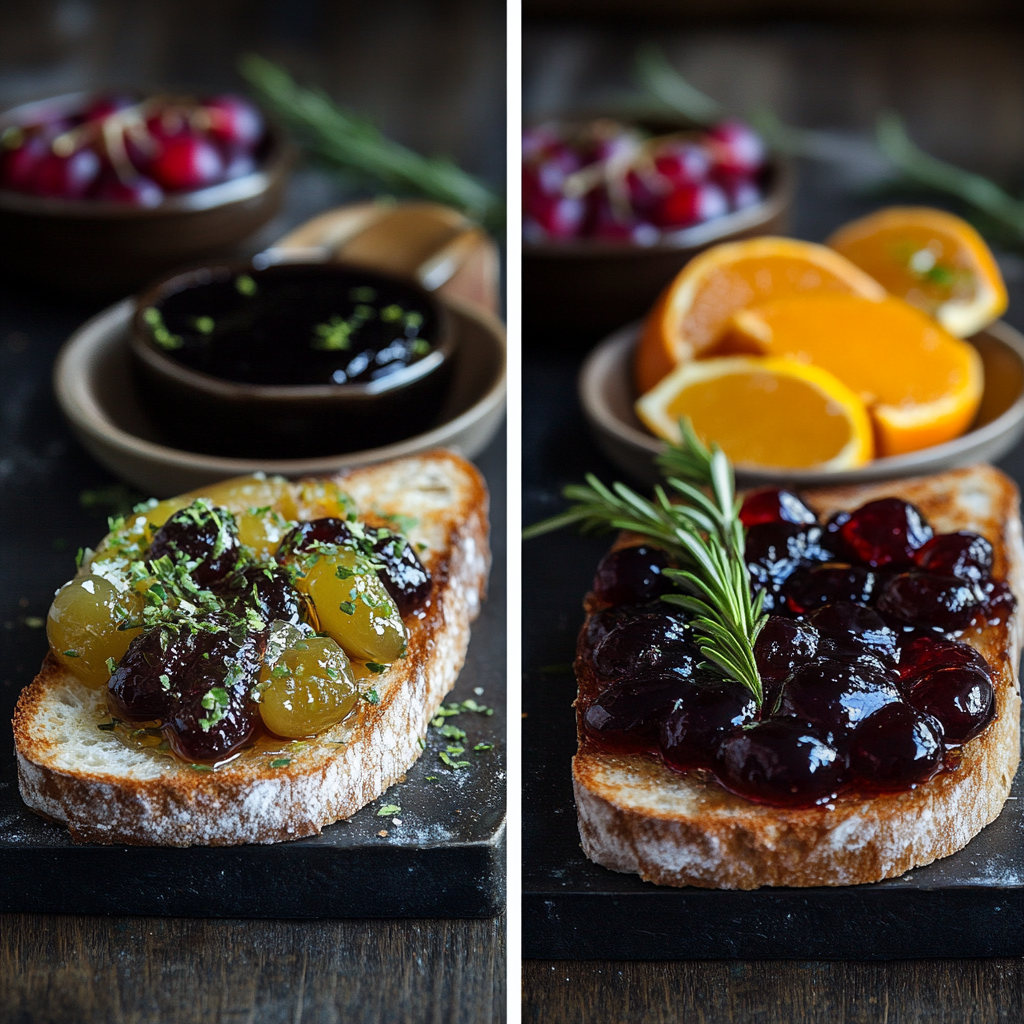
If you enjoy more complex flavors, consider infusing your beach plum jelly with fresh herbs. A sprig of rosemary, thyme, or even lavender added during the boiling process can give your jelly a sophisticated twist. Just be sure to remove the herbs before pouring the jelly into jars.
Sugar-Free Version:
For those following a low-carb or keto diet, it’s easy to adapt this recipe by using a sugar substitute like stevia or monk fruit. Simply swap out the regular sugar for your preferred alternative and use a low-sugar pectin to help the jelly set. The result is a delicious, tangy-sweet spread that’s perfect for those watching their sugar intake.
Spiced Beach Plum Jelly:
If you’re a fan of warm spices, you can add a cinnamon stick or a few cloves during the boiling process. This variation is especially wonderful for fall or winter, when the warming spices complement the tart beach plum jam beautifully.
For more snack recipes that pair wonderfully with beach plum jelly, visit our Snacks section to explore a variety of sweet and savory options.

Expert Tips for Making the Best Beach Plum Jelly
Pro Advice for Perfecting Your Homemade Beach Plum Jelly
Even a seemingly simple recipe like beach plum jelly can come with a few challenges. Below, we’ve compiled some expert tips to help you avoid common mistakes and ensure that your jelly turns out perfectly every time. Whether you’re a beginner or a seasoned jelly maker, these tips will take your jelly-making skills to the next level.
Tip 1: Select Only Ripe Beach Plums
The quality of your jelly starts with the fruit. Be sure to use fully ripe beach plums, as underripe plums can result in a more astringent taste. Ripe beach plums are typically dark purple or red and slightly soft to the touch. Overripe plums may make the jelly too sweet, while underripe ones will give it a sour, unpleasant flavor.
Tip 2: Don’t Rush the Straining Process
When extracting the beach plum juice, it’s important to be patient. Let the juice slowly drip through the cheesecloth or strainer to ensure you’re getting the maximum amount of liquid from the fruit. If you squeeze the cloth too hard, you might push some pulp through, resulting in a cloudy jelly.
Tip 3: Use a Rolling Boil
A key step in making beach plum jelly is bringing the mixture to a rolling boil. This means that the jelly should continue boiling even when you stir it. This high-heat boiling is essential for activating the pectin and ensuring that the jelly sets properly.
Tip 4: Perform the Spoon Test
As tempting as it may be to skip this step, the spoon test is your best friend when determining if the jelly has set. Dip a cold spoon into the mixture and let it cool for a few seconds. If it thickens on the spoon and doesn’t run off, your jelly is ready. If not, give it a few more minutes of boiling and test again.
Tip 5: Sterilize Your Jars Properly
To ensure that your jelly stays fresh for as long as possible, sterilizing your jars is a must. Boil them in boiling water for at least 10 minutes before filling them with the jelly. This process kills any bacteria and prevents mold or spoilage.
For more expert cooking tips and tricks, visit our Dinner section for savory recipes that use similar techniques.
Nutritional Information: Health Benefits of Beach Plum Jelly
Why Beach Plum Jelly Can Be a Healthy Addition to Your Diet
While beach plum jelly is undeniably delicious, it also offers a surprising number of health benefits when consumed in moderation. Here’s a closer look at the nutritional value of the ingredients and what makes this jelly a guilt-free treat.
Beach Plums: A Rich Source of Antioxidants
Beach plums, like many other fruits, are packed with antioxidants, particularly Vitamin C. These antioxidants help to neutralize free radicals in the body, reducing inflammation and supporting overall health. The fruit also contains small amounts of fiber, which aids digestion.
Lemon Juice: A Natural Preservative with Health Benefits
In addition to enhancing the flavor, the 2 tablespoons of lemon juice in this recipe contribute to your daily intake of Vitamin C. Lemon juice also helps with collagen production and immune system support, making your beach plum jelly not only delicious but nutritious.
Moderation is Key with Sugar
While 5 cups of sugar might seem like a lot, remember that jelly is typically enjoyed in small servings. A tablespoon of this jelly contains about 50-60 calories. If you’re concerned about the sugar content, consider the sugar-free variation mentioned earlier.
For more nutritional tips and recipes, check out this article for in-depth insights on fruit preserves and their benefits.
Serving Suggestions for Beach Plum Jelly
Delicious Ways to Serve and Enjoy Your Beach Plum Jelly
Beach plum jelly is a versatile treat that can be enjoyed in numerous ways. Whether you’re looking for a sweet addition to your breakfast or a creative pairing for a savory dish, this jelly offers plenty of options. Below are a few of our favorite serving suggestions to get the most out of your homemade jelly.
Classic Breakfast Spread
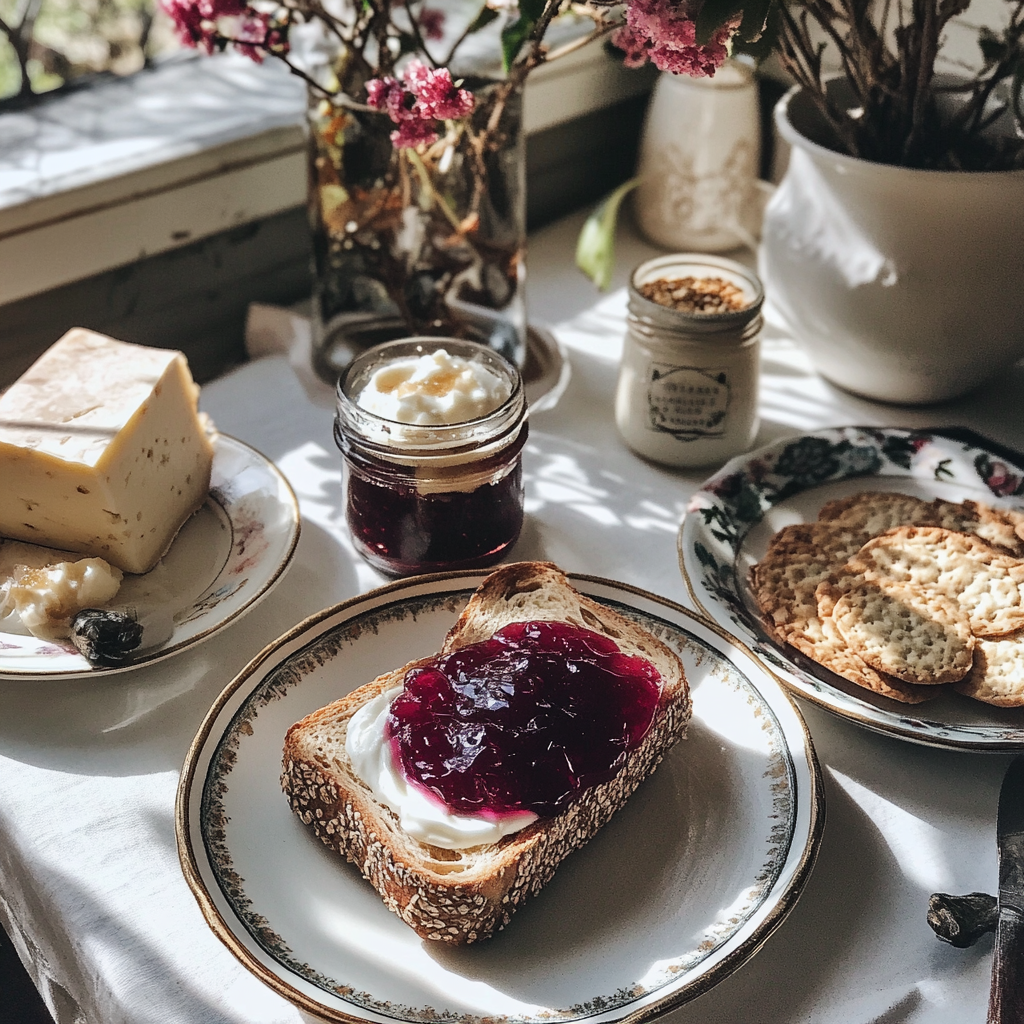
A tried-and-true method of enjoying beach plum jelly is simply spreading it on a slice of toasted bread. Add a little butter or cream cheese to the toast before topping it with the jelly for a delightful mix of flavors and textures. This makes for a perfect breakfast or snack.
Pair with Cheese for a Sophisticated Appetizer
For a more elevated experience, serve your jelly alongside a cheese platter. The tartness of the jelly pairs beautifully with creamy, mild cheeses like brie or goat cheese. Add a few crackers and some fresh fruit, and you’ve got yourself an easy, yet impressive appetizer for guests.
Yogurt and Granola Parfait
Looking for a healthier option? Add a spoonful of beach plum jelly to your morning yogurt and granola parfait. The sweetness of the jelly complements the creaminess of the yogurt and the crunch of the granola, creating a well-rounded and satisfying breakfast.
Glaze for Meat or Veggies
If you prefer a savory route, you can use your beach plum jelly as a glaze for roasted vegetables or grilled chicken. Simply melt the jelly down slightly in a saucepan and brush it over your dish in the final minutes of cooking. The jelly adds a lovely sheen and a hint of sweetness that enhances the dish.
For more dinner ideas that pair well with this jelly, explore our Dinner section for mouthwatering meal inspiration.

Storage Tips for Beach Plum Jelly
How to Store Your Homemade Beach Plum Jelly for Maximum Freshness
Once you’ve made your batch of beach plum jelly, proper storage is essential to ensure that it stays fresh and flavorful for as long as possible. Whether you’re planning to enjoy your jelly right away or save it for later, here are some tips to keep in mind.
Refrigeration for Opened Jars
Once you’ve opened a jar of jelly, it should be stored in the refrigerator. Properly sealed and refrigerated, an open jar of beach plum jelly will keep for up to three months. Be sure to always use a clean spoon to scoop out the jelly to prevent contamination.
Freezing for Long-Term Storage
If you’ve made a large batch and don’t plan to use all of the jelly right away, you can freeze it for longer storage. Simply leave a little extra room at the top of each jar to allow for expansion during freezing. Frozen beach plum jelly can last for up to 12 months.
Room Temperature for Unopened Jars
Unopened jars that have been properly canned and processed in a boiling water bath can be stored at room temperature in a cool, dark place. Your jelly will stay fresh for up to a year this way, making it perfect for gifting or keeping on hand for special occasions.
Frequently Asked Questions About Beach Plum Jelly
Q: Can I use frozen beach plums to make jelly?
A: Yes, you can use frozen ripe beach plums in this recipe. Just thaw them before starting the cooking process to ensure they release their juice properly.
Q: What’s the difference between jam and jelly?
A: The main difference between jam and jelly is that jelly is made from fruit juice, while jam is made from mashed or pureed fruit. In this recipe, we strain out the pulp, so we’re making jelly.
Conclusion: Why You Should Make Beach Plum Jelly at Home
There’s something incredibly satisfying about making your own beach plum jelly from scratch. Not only do you get to enjoy the rich, tangy-sweet flavor of beach plum juice, but you also get the joy of preserving a piece of summer in every jar. Whether you’re spreading it on toast, using it as a glaze, or giving it as a gift, homemade beach plum jelly is a versatile and delicious treat.
For more creative ideas on how to use your homemade jelly, check out this food blog and explore our Desserts section for sweet and savory inspiration.
