Whipped Cream Dispenser Recipe
Introduction
If you love the light, airy texture of whipped cream but want a quicker, more convenient way to make it, then this whipped cream dispenser recipe is for you! Using an ISI whipped cream dispenser, you can create homemade whipped cream in just a few minutes, perfect for topping ice cream, cakes, and desserts. This method is not only efficient but also allows you to customize flavors, making it ideal for any occasion—whether it’s a cozy family dinner or a festive gathering. Plus, it caters to various dietary preferences, allowing for sugar-free or dairy-free options. Whipped cream is an essential element in many recipes, enhancing the overall flavor and presentation of desserts. Let’s dive into this delightful recipe that will elevate your desserts to a whole new level!
With the rise of DIY cooking, making whipped cream at home has become a popular trend. Not only do you control the ingredients, but you also avoid the additives found in store-bought versions. Homemade whipped cream can be tailored to your personal taste, ensuring that every dollop is perfect for your palate. Whether you’re preparing for a special occasion or just want to treat yourself, this whipped cream dispenser recipe provides an easy way to achieve professional-quality results right in your kitchen. So, gather your ingredients and tools, and let’s get started on this exciting culinary adventure!
Ingredients Overview
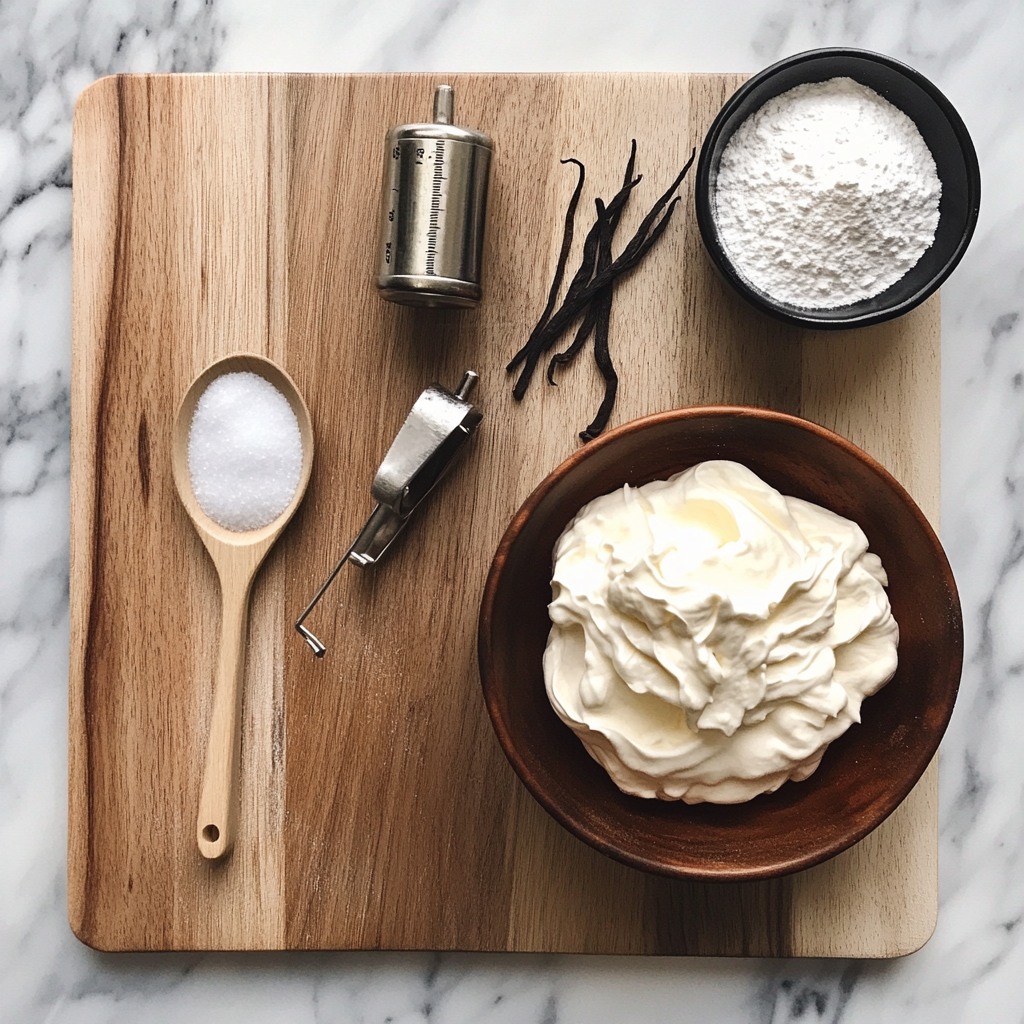
To create a delicious whipped cream using a cream dispenser, you’ll need the following ingredients:
- Heavy whipping cream (2 cups) – This is the main ingredient, and the higher the fat content, the better the whipped cream. For the best results, choose a brand that offers at least 36% fat content, which will give you a rich and creamy texture.
- Powdered sugar (2 tablespoons) – This sugar dissolves quickly and helps achieve that sweet taste without the graininess that granulated sugar can sometimes leave. You can adjust the amount based on your sweetness preference—some might prefer a little less or more sugar depending on the dessert you’re serving it with.
- Vanilla extract (1 teaspoon) – This adds a lovely flavor to the whipped cream. If you’re feeling adventurous, you can experiment with other extracts like almond or hazelnut to create different flavor profiles.
- Nitrous oxide (N2O) charger – This is essential for creating the pressure needed in the dispenser. These chargers are available in many culinary supply stores or online, and they make the process incredibly simple and efficient.
Possible Substitutions:
- Sugar-free: If you’re looking for a healthier option, use a sugar substitute like erythritol or stevia. Just keep in mind that some substitutes may alter the texture slightly, so it’s essential to test and adjust according to your taste.
- Dairy-free: If you’re following a vegan diet or have a dairy allergy, you can substitute heavy cream with coconut cream or any plant-based cream, such as almond or oat-based creams. These alternatives can offer a unique flavor that complements many desserts beautifully.
For more delightful snack ideas that pair well with whipped cream, check out our Snacks category for similar recipes.

Tools Needed
To create whipped cream using a dispenser, you will need the following tools:
- ISI Whipped Cream Dispenser – This is the star of the show! An ISI whipped cream dispenser is designed specifically for making whipped cream, but it can also be used for other applications, like foams and sauces.
- N2O charger – This is crucial for infusing your cream with air and creating that fluffy texture. It’s best to have a few chargers on hand, as one charger is usually sufficient for up to two cups of cream.
- Mixing bowl – A medium-sized bowl is perfect for combining your ingredients before transferring them to the dispenser. This bowl will allow you to whisk the mixture thoroughly.
- Whisk – You’ll need a whisk to blend the ingredients before dispensing. A hand whisk works well, but you can also use an electric mixer if you prefer a quicker method.
- Decorator tip – A specialized decorator tip allows you to create beautiful designs when serving. You can use various tips to achieve different patterns, from simple swirls to intricate rosettes.
These tools are commonly found in many kitchens. If you’re missing any of these, consider borrowing from a friend or checking local kitchen supply stores. For more recipe ideas that utilize similar tools, visit our Dinner category.
Step-by-Step Instructions
Making whipped cream with a cream dispenser is straightforward and quick. Here’s how to do it in detail:
Step 1: Prepare the Mixture
In a mixing bowl, combine the heavy whipping cream, powdered sugar, and vanilla extract. Use a whisk to mix until the sugar is dissolved, and the mixture is smooth. This step ensures that the sugar is evenly distributed, which is key for a creamy texture. You can also taste the mixture at this stage to see if it needs more sweetness or flavor. If you’re adding any flavor variations, like cocoa powder or other extracts, mix them in at this point.
Step 2: Fill the Dispenser
Pour the whipped cream mixture into the whipped cream canister. Be careful not to overfill it; leave some space at the top to allow for the gas to expand. Overfilling can lead to a messy situation and may not dispense properly. If you do accidentally overfill, simply pour some mixture back into the bowl.
Step 3: Charge the Dispenser
Screw the top of the canister back on tightly. Hold the canister upside down and insert the N2O charger into the charger holder. You should hear a hissing sound as the gas is released, indicating that it is filling the canister with nitrous oxide. This is a crucial step for achieving that light and fluffy whipped cream texture.
Step 4: Shake the Dispenser
After charging, shake the dispenser vigorously for about 10 seconds to mix the gas and cream. Shaking ensures that the gas is evenly distributed throughout the cream, which is essential for achieving the right consistency. A good shake also helps to incorporate any sugar or flavorings that might have settled.
Step 5: Dispense the Whipped Cream
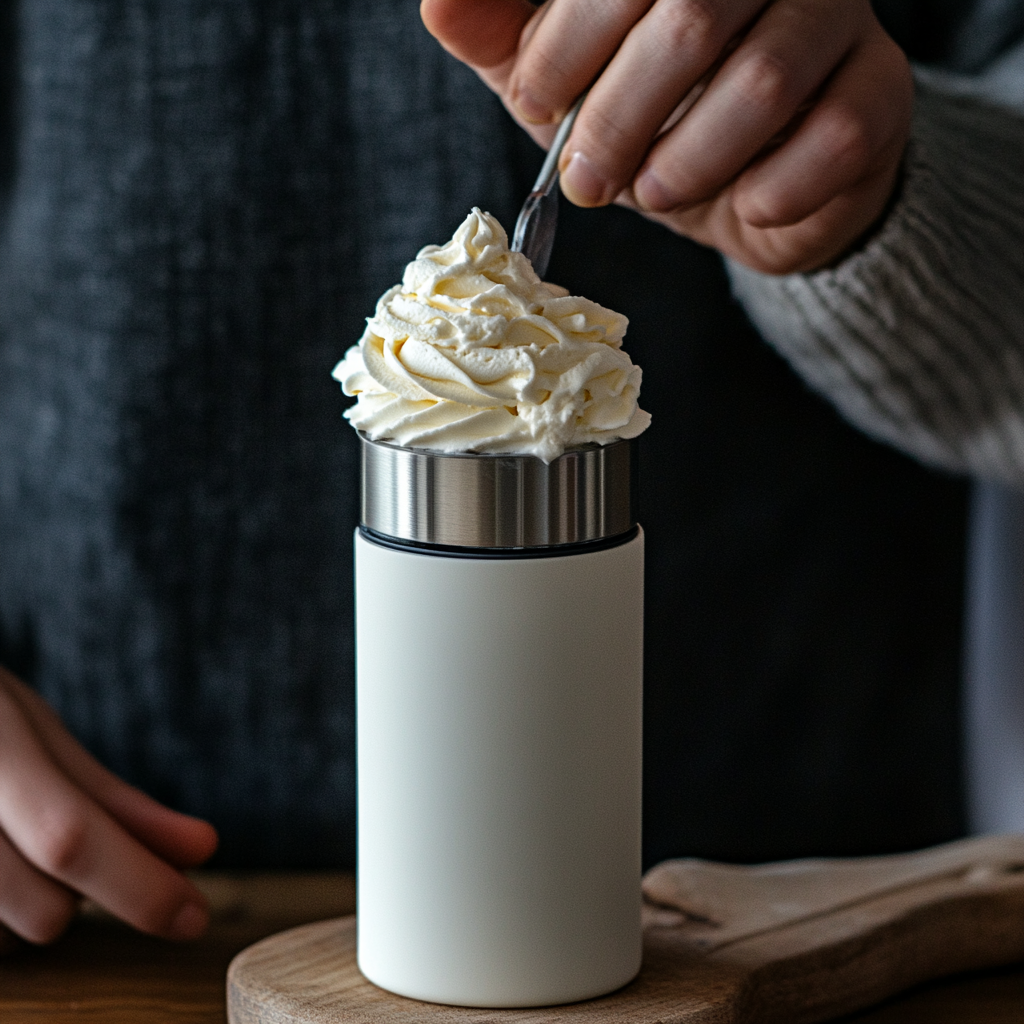
Now, your whipped cream is ready! Press down on the nozzle to dispense. For best results, hold the canister at an angle, pointing the nozzle towards the dessert you’re topping. This technique helps to control the flow and shape of the whipped cream. You can also experiment with different nozzle tips to create varied designs.
For further details on similar methods, visit our Breakfast recipes, where you might find other creative uses for whipped cream.

Flavor Variations
Experimenting with flavors can elevate your whipped cream to a new level. Here are some delicious ideas that you can easily incorporate into your whipped cream:
- Chocolate Whipped Cream: For a delightful chocolate flavor, add 2 tablespoons of cocoa powder to your mixture. This pairs wonderfully with chocolate desserts or can be used as a decadent topping for pies and cakes. Make sure to mix well to ensure the cocoa powder is fully incorporated.
- Mint Whipped Cream: Incorporate a few drops of peppermint extract for a refreshing flavor. This variation is perfect for topping desserts during the holiday season or for adding a twist to your favorite hot chocolate.
- Spiced Whipped Cream: Add a pinch of cinnamon or nutmeg for a seasonal touch. This can be particularly delightful on pumpkin pies or fall desserts, providing warmth and comfort to your dishes.
- Fruit-Flavored Whipped Cream: Puree fresh fruits like strawberries or raspberries and fold them into the whipped cream mixture for a fruity twist. This variation adds a natural sweetness and a pop of color, making it visually appealing as well.
- Lemon or Orange Zest: Adding zest from citrus fruits can brighten up your whipped cream and offer a refreshing flavor profile that pairs well with summer desserts.
These variations can enhance desserts and drinks, making them even more enjoyable. For additional pairing suggestions, check out our Snacks section for delightful ideas that go hand-in-hand with whipped cream.

Expert Tips
Creating the perfect whipped cream can be simple, but here are some expert tips to keep in mind to ensure the best results:
- Use cold ingredients: Ensure your heavy cream is chilled for optimal whipping. The colder the cream, the better it will whip, as it helps trap air more effectively. You can even chill your mixing bowl and whisk for extra assurance.
- Do not overcharge: One N2O charger is usually sufficient for up to two cups of cream. Overcharging can lead to overly airy whipped cream, which may not hold its shape well.
- Clean the dispenser: After each use, unscrew the top and clean the canister thoroughly to maintain its longevity. Proper maintenance ensures that your dispenser will continue to perform at its best for years to come.
- Adjust sweetness: Feel free to experiment with the amount of powdered sugar based on your preference. Tasting as you go is essential, as some desserts may require sweeter whipped cream than others.
- Serve immediately: While homemade whipped cream can last a few days in the refrigerator, it’s best served fresh. Whipped cream may begin to lose its structure over time, so plan to whip just before serving for optimal texture.
For similar techniques, explore our Dinner category for recipes that share common methods, enhancing your cooking repertoire.
Nutritional Information
Whipped cream is a delightful addition to many desserts, but it’s essential to be aware of its nutritional content. A typical serving (2 tablespoons) of homemade whipped cream contains:
- Calories: Approximately 50-60, depending on the specific ingredients used.
- Fat: 5g, primarily from the heavy cream, which contains healthy fats. This is beneficial in moderation and can provide a rich texture to your dishes.
- Sugar: 2g (varies based on added sugar), so you can adjust this based on your personal dietary needs.
While whipped cream is a treat, consider portion control, especially if you’re serving it with already sweet desserts. If you’re making variations with added flavors or sugar substitutes, recalibrating the nutritional information may be necessary. For more detailed nutritional information, I recommend visiting this link.
Serving Suggestions
Whipped cream is versatile and pairs well with various dishes. Here are some serving suggestions to inspire your culinary creativity:
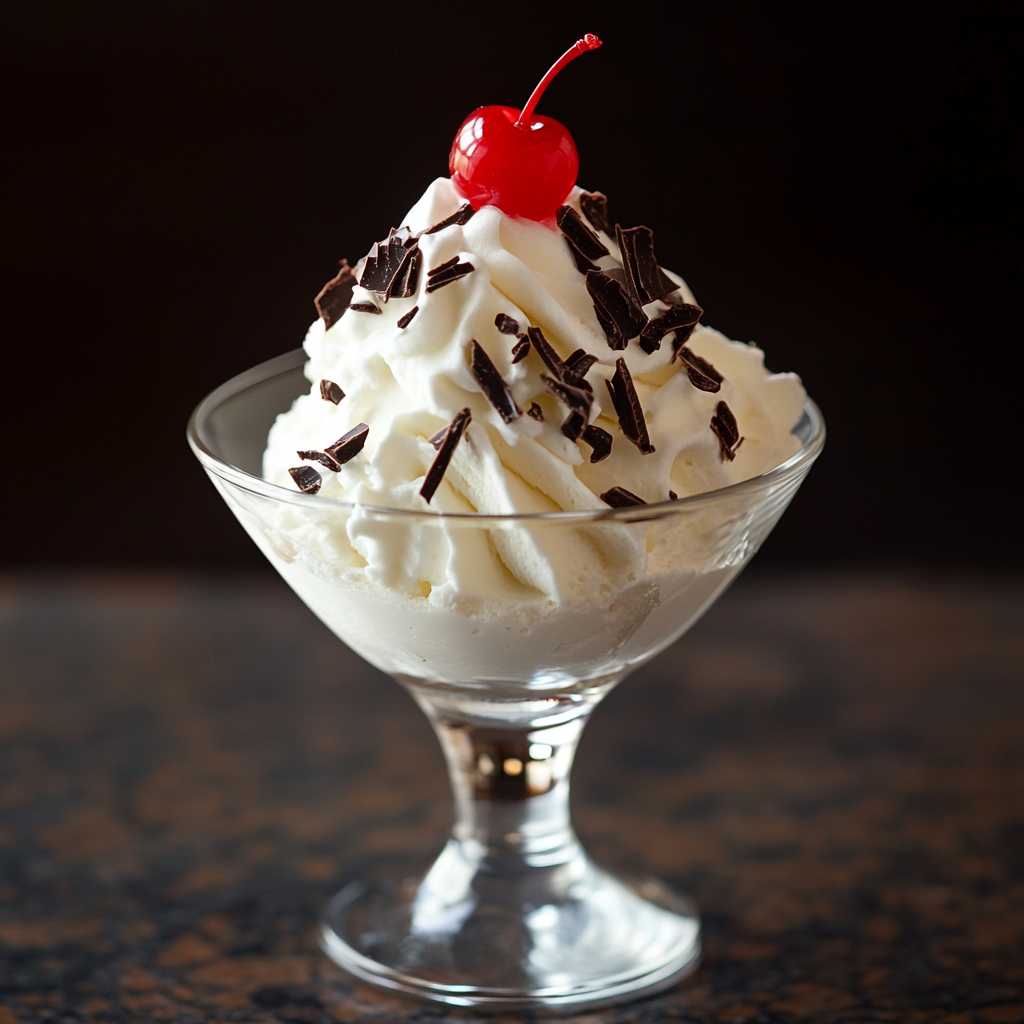
- Top your ice cream: Use whipped cream as a delightful topping for scoops of your favorite ice cream flavors. It adds a lightness that balances the creaminess of the ice cream, making each bite more enjoyable.
- Use it for breakfast treats: Drizzle whipped cream over pancakes or waffles for an indulgent breakfast. Add fresh fruit on top for a nutritious and colorful presentation that’s sure to impress.
- Enhance your desserts: Add whipped cream to cakes, pies, or tarts for a luscious finishing touch. You can layer it between cake layers or dollop it on fruit tarts to elevate the flavor profile.
- Pair with hot beverages: Whipped cream is fantastic on top of hot chocolate, coffee, or lattes. It not only adds sweetness but also creates a beautiful presentation, making your drinks feel extra special.
- Create parfaits: Layer whipped cream with fruits and granola to create delicious parfaits. This makes for a lovely breakfast or dessert option that is visually appealing and satisfying.
For more serving ideas, check out our Desserts category for inspiration and creativity.

Storage Tips
Homemade whipped cream is best enjoyed fresh, but you can store it for later use:
- Refrigeration: Store any unused whipped cream in the refrigerator for up to 3 days in the whipped cream canister. Make sure to seal it properly to prevent it from absorbing any odors from the fridge.
- Freezing: Whipped cream can also be frozen in dollops on a baking sheet, then transferred to a freezer-safe container for up to a month. When ready to use, simply thaw in the refrigerator or at room temperature for a short period.
- Reviving whipped cream: If your stored whipped cream loses some of its volume, you can gently whisk it to regain some of the airiness. Avoid overwhipping, as it can turn into butter if overworked.
FAQs
Q: Can I use a different sugar type?
A: Yes, you can use granulated sugar, but powdered sugar dissolves better for a smoother texture. If using granulated sugar, be sure to whisk it well into the cream.
Q: How do I make a sugar-free version?
A: Substitute powdered sugar with a sugar-free sweetener like erythritol. Keep in mind that some sweeteners may not behave the same way as sugar, so a bit of experimentation might be needed.
Q: Can I make this in advance?
A: It’s best to make whipped cream fresh, but it can be stored as mentioned above. If making in advance, consider how you will use it to ensure you have the right texture when serving.
For more questions and answers, explore our Breakfast section, where you can find detailed discussions on similar topics.
Conclusion
This whipped cream dispenser recipe opens the door to creating delicious homemade whipped cream quickly and easily. The versatility and customizability make it a must-try for any dessert lover. With just a few ingredients and a little bit of technique, you can impress friends and family with your skills. So grab your ISI whipped cream dispenser and start whipping up some delightful toppings today!
By following this guide, you can master the art of homemade whipped cream and take your desserts to the next level! Enjoy experimenting with flavors, serving options, and perhaps even incorporating your whipped cream into unexpected dishes. Remember, the key to great whipped cream lies in freshness and quality ingredients, so take the time to savor the process. Happy whipping!
