Nothing says indulgence like the sweet, chocolate-coated taste of an Eskimo Pie. Combining rich vanilla ice cream with a thick layer of smooth chocolate, these treats have been an all-time favorite for generations. But did you know you can easily recreate this classic dessert in your own kitchen? With this homemade Eskimo Pie popsicle recipe, you’ll learn how to make these delicious treats with just a few simple ingredients.
Making Eskimo Pie popsicles at home is a fun, rewarding experience. Not only can you control the quality of the ingredients, but you can also customize flavors to your heart’s desire. Whether you’re craving the classic vanilla-chocolate combination or want to add your own twist with different ice cream flavors and toppings, this guide will take you step by step through the process of making the perfect homemade popsicle.
Let’s dive into the full guide on how to make homemade Eskimo Pie popsicles from scratch!
Why You Should Make Homemade Eskimo Pie Popsicles
There’s something incredibly satisfying about making homemade Eskimo Pie popsicles. Not only are they fresher than store-bought versions, but you also have complete control over the ingredients. You can choose your favorite high-quality chocolate, opt for organic ice cream, or even try dairy-free alternatives. Plus, making popsicles at home is a fun project for families, especially with kids who will love dipping the popsicles in melted chocolate.
While store-bought Eskimo Pies are delicious, they often come with preservatives and artificial flavors. Making your own gives you a healthier, more natural alternative. Best of all, you can experiment with different flavors, toppings, and ice creams, tailoring each popsicle to suit your taste. And if you’re a fan of nostalgia, these treats are a great way to relive childhood memories in a homemade, wholesome way.
Key Ingredients for Homemade Eskimo Pie Popsicle Recipe
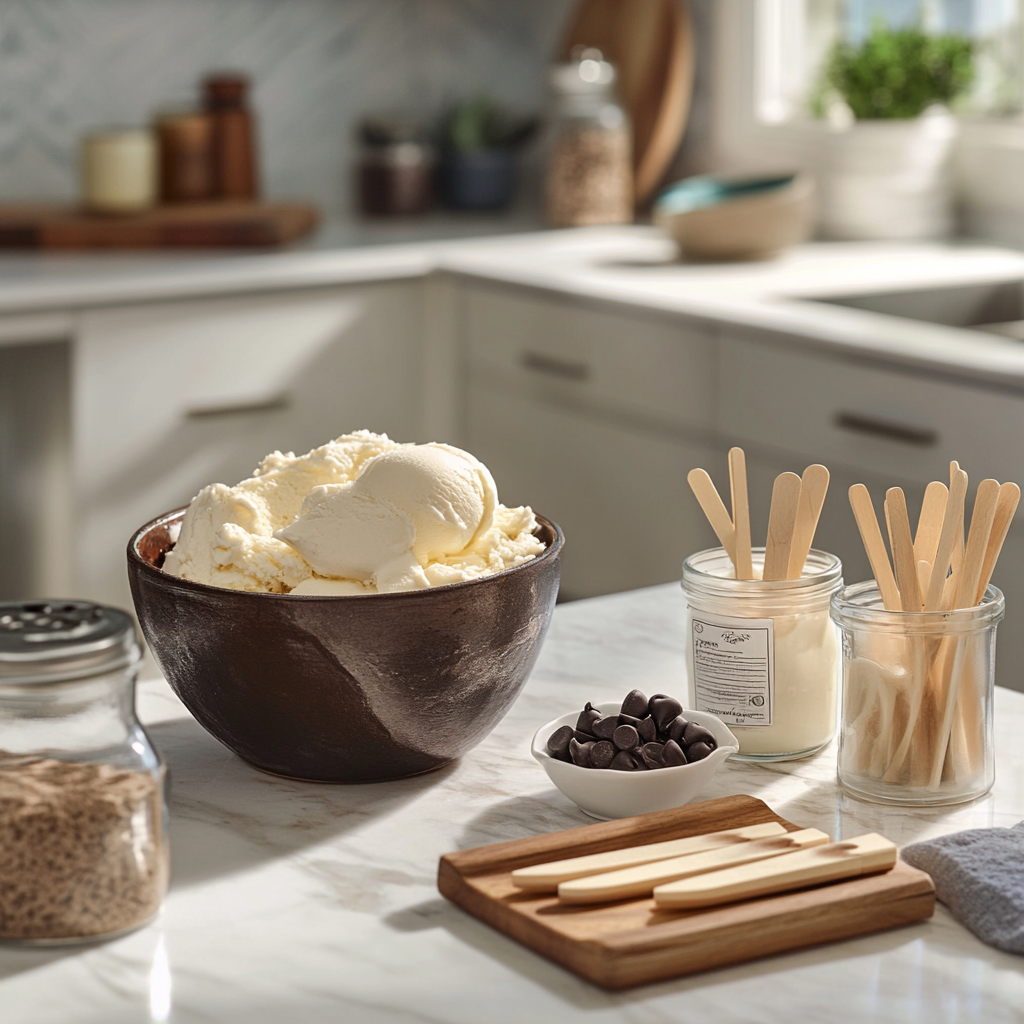
To make the best homemade Eskimo Pie popsicles, the quality of your ingredients is key. Let’s explore the essential components of this delightful dessert.
1. Vanilla Ice Cream
The foundation of any Eskimo Pie popsicle recipe is high-quality vanilla ice cream. While you can use store-bought ice cream, making your own from scratch adds an extra touch of indulgence. Look for ice cream made with real vanilla bean or pure vanilla extract for a richer, creamier taste. If you’re feeling adventurous, try making homemade ice cream using this vanilla ice cream recipe.
If you want to get creative, swap the vanilla for other flavors, such as chocolate, coffee, or mint. You could even mix and match ice cream flavors for a more customized treat. Whatever flavor you choose, ensure it’s frozen solid before dipping in chocolate.
2. Chocolate Chips
The chocolate coating is what gives Eskimo Pies their signature appeal. For the smoothest, richest coating, use high-quality chocolate chips. Dark or semi-sweet chocolate works best, as it pairs beautifully with the creamy sweetness of the ice cream without being overly sugary. If you prefer, milk chocolate can also be used, though it will create a sweeter final product.
Melt the chocolate slowly to ensure it doesn’t burn or seize. You can even experiment with different chocolate varieties, such as white chocolate or flavored chocolate, for a unique spin on the classic Eskimo Pie.
3. Coconut Oil
Adding coconut oil to the chocolate helps create a thinner, more manageable coating. Coconut oil not only gives the chocolate a shiny finish but also helps it harden faster when it comes into contact with the cold popsicles. The coconut oil also prevents the chocolate from cracking or becoming too thick, making it easier to coat the popsicles evenly.
You can use unrefined coconut oil for a more neutral taste, or virgin coconut oil if you want a hint of coconut flavor in your chocolate coating. A small amount—usually about two tablespoons—is all you need.
4. Popsicle Molds
To form the Eskimo Pie popsicles at home, you’ll need popsicle molds. These molds come in various shapes and sizes, so pick whichever style suits your preference. Silicone molds are ideal because they allow for easy removal of the popsicles without cracking the ice cream. However, plastic molds work just as well if that’s what you have on hand.
Make sure the molds are sturdy enough to support the ice cream as it freezes and can accommodate popsicle sticks for easy handling. Once your popsicles are frozen, they should pop out of the molds with ease.
5. Popsicle Sticks
Popsicle sticks are a must for holding your frozen treats. Wooden sticks are typically the best choice as they are sturdy and hold up well in the freezer. You can find these at most grocery stores or craft shops, or even reuse sticks from store-bought popsicles. When inserting them into the molds, ensure they are straight and centered so the popsicles freeze properly.

Step-by-Step Guide: How to Make Homemade Eskimo Pie Popsicles
Making homemade Eskimo Pie popsicles is easier than you might think. Follow this simple step-by-step guide, and you’ll have a batch of creamy, chocolate-covered treats ready in no time.
Step 1: Prepare the Vanilla Ice Cream
Begin by scooping your vanilla ice cream into the popsicle molds. Use a spoon or spatula to press the ice cream firmly into the molds, making sure there are no air pockets. Leave a small space at the top to allow for expansion as the ice cream freezes. Smooth the tops for an even finish.
Once the molds are filled, place them in the freezer for about 4-6 hours, or until the ice cream is completely solid.
Step 2: Insert the Popsicle Sticks
After the ice cream has partially frozen (about 1-2 hours into the freezing process), gently insert the popsicle sticks into the center of each mold. Be sure the sticks are straight and positioned properly, as they will be the handles for your popsicles. Return the molds to the freezer to allow the popsicles to finish freezing.
Step 3: Melt the Chocolate
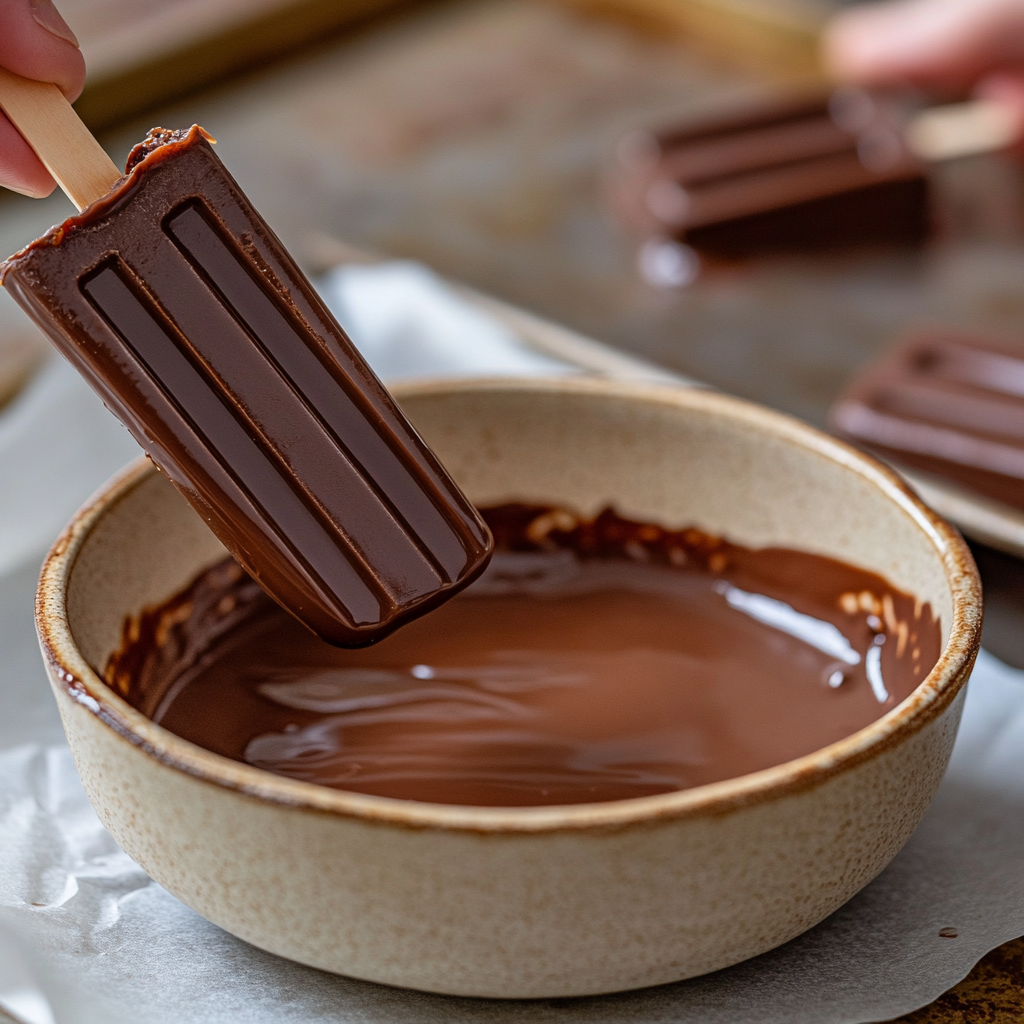
While the popsicles freeze, it’s time to prepare the chocolate coating. In a double boiler, melt 1 ½ cups of chocolate chips and 2 tablespoons of coconut oil. Stir the mixture slowly and continuously to avoid burning the chocolate. Once the chocolate is completely melted and smooth, remove it from the heat and allow it to cool slightly. This will prevent the chocolate from melting the popsicles when dipped.
If you don’t have a double boiler, you can make one by placing a heatproof bowl over a pot of simmering water. Be sure the bottom of the bowl doesn’t touch the water to avoid scorching the chocolate.
Step 4: Dip the Popsicles in Melted Chocolate
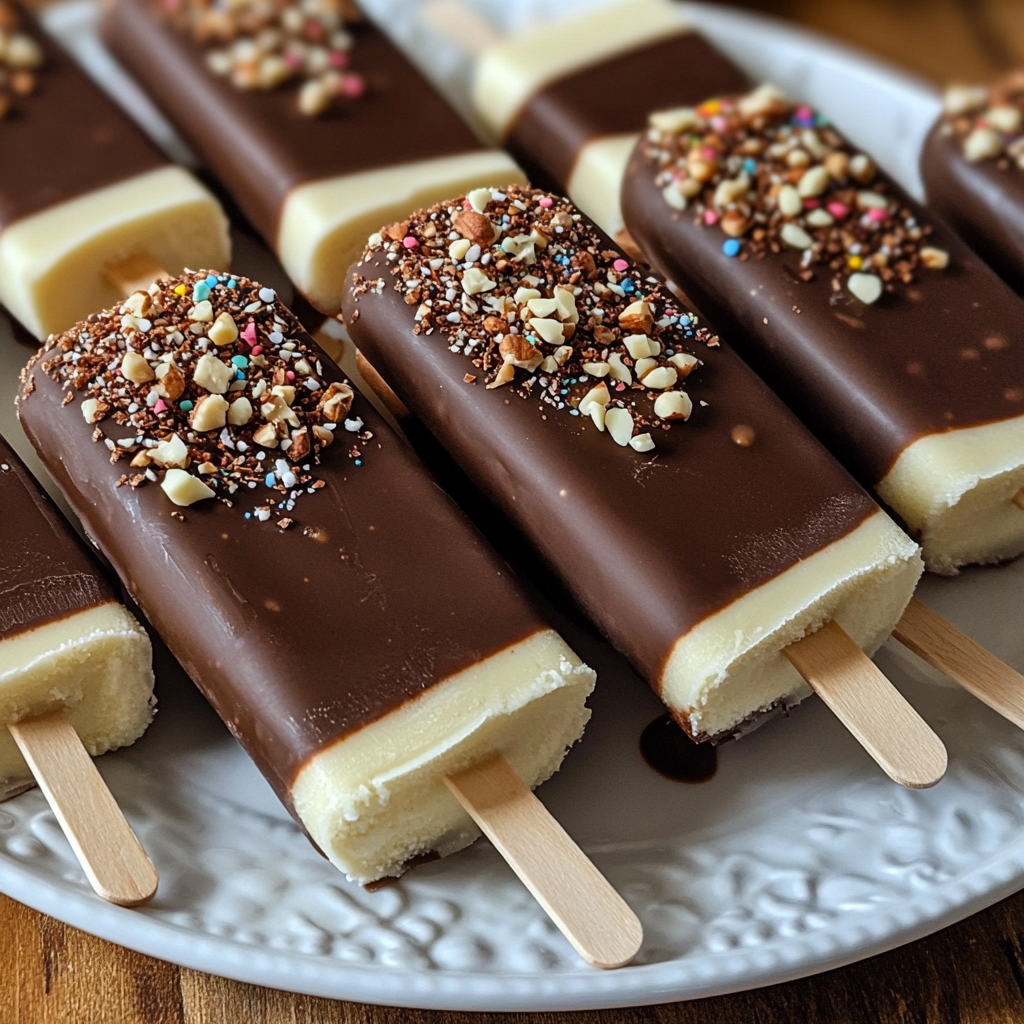
Once your popsicles are fully frozen, remove them from the molds. Working quickly, dip each popsicle into the bowl of melted chocolate, ensuring the entire surface is coated. The cold popsicles will cause the chocolate to harden almost instantly. If you prefer a thicker coating, allow the first layer to set before dipping the popsicle again for a double coating.
For a cleaner dipping process, you can hold the popsicle over the bowl and use a spoon to drizzle the chocolate over any areas that didn’t get fully covered.
Step 5: Add Toppings (Optional)
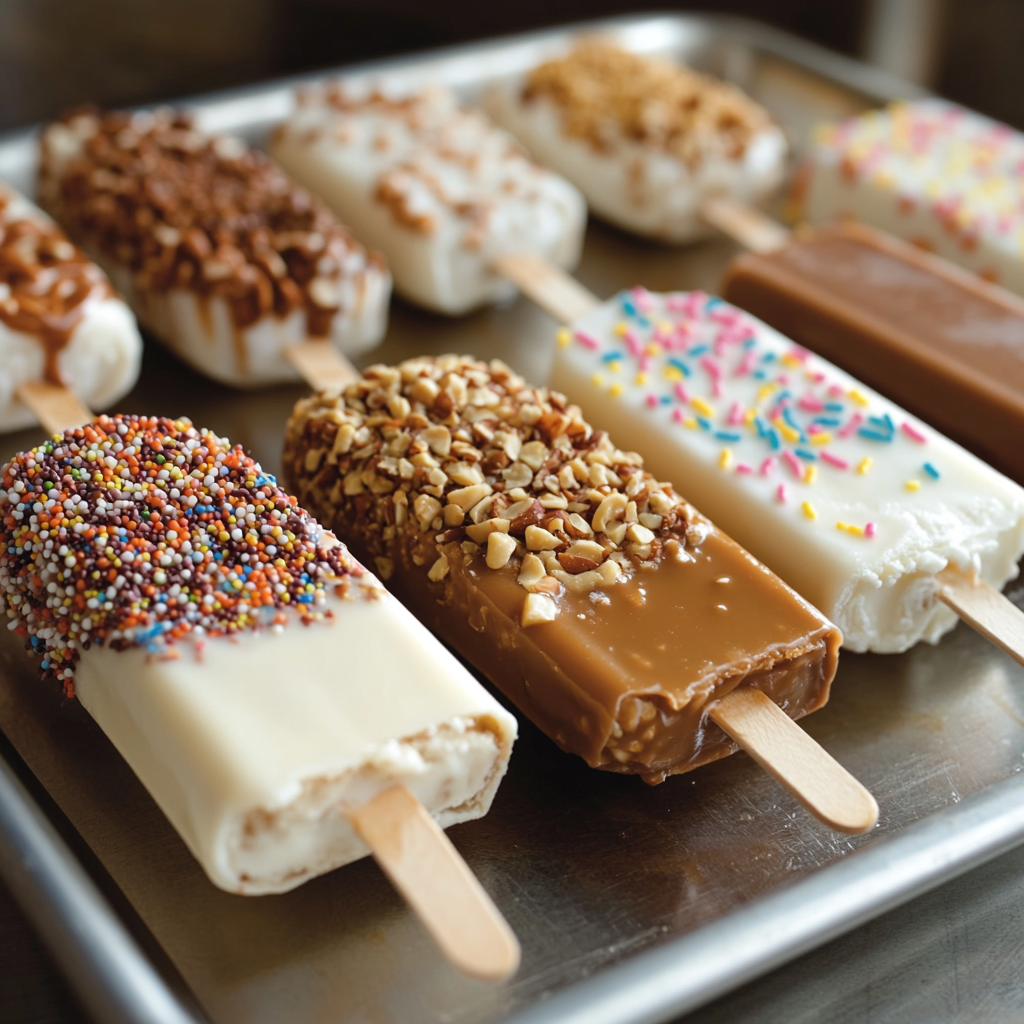
While the chocolate is still wet, you can add toppings like crushed nuts, sprinkles, or shredded coconut. This step is optional but adds an extra layer of flavor and texture to the popsicles.
Place the dipped popsicles on a tray lined with parchment paper and return them to the freezer for about 10 minutes to ensure the chocolate coating is fully set.

Flavor Variations for Homemade Eskimo Pie Popsicles
One of the best things about making Eskimo Pie popsicles at home is the ability to customize them however you like. Here are a few fun variations to try:
1. Chocolate Ice Cream
Swap out the classic vanilla for chocolate ice cream. This creates an extra rich and indulgent treat, perfect for chocolate lovers who want a double dose of chocolate flavor.
2. Coffee Ice Cream
If you’re a fan of coffee-flavored desserts, use coffee ice cream for your popsicles. The bitterness of the coffee pairs beautifully with the sweetness of the chocolate coating, making this variation a hit for grown-ups.
3. Caramel Swirl
Stir a swirl of caramel sauce into the vanilla ice cream before freezing. The combination of caramel, vanilla, and chocolate creates a decadent dessert that’s hard to resist.
4. Mint Chocolate Chip
For a refreshing twist, use mint chocolate chip ice cream as the base. The cool, minty flavor is a perfect contrast to the sweet chocolate coating, making this variation especially popular during the summer months.
5. Nutty Toppings
Add texture to your popsicles by rolling them in crushed nuts immediately after dipping them in chocolate. Almonds, hazelnuts, and peanuts all make delicious toppings, adding crunch to each bite.
If you’re interested in more popsicle ideas, check out this popsicle recipe collection from Bon Appétit for a variety of flavors and combinations you can try at home.

Health Benefits of Homemade Eskimo Pie Popsicles
While Eskimo Pies are definitely an indulgent treat, there are ways to make them healthier when preparing them at home.
1. Quality Control
One of the best things about making homemade Eskimo Pie popsicles is the ability to control the ingredients. By choosing high-quality, organic, or even dairy-free ice cream, you can create a treat that’s healthier than store-bought versions. Homemade popsicles are free from artificial preservatives and excess sugar, making them a better option for those looking to indulge without the guilt.
2. Dark Chocolate Benefits
If you use dark chocolate for the coating, you’ll benefit from the antioxidants and nutrients that come with it. Dark chocolate is rich in flavonoids, which are known to improve heart health, lower blood pressure, and reduce inflammation.
3. Coconut Oil Benefits
Using coconut oil in the chocolate coating also has its health perks. Coconut oil is a healthy fat that supports heart health, boosts metabolism, and provides a quick source of energy. Plus, it’s a better alternative to hydrogenated fats often found in commercial ice cream bars.
Overall, making Eskimo Pie popsicles at home allows you to indulge in a sweet treat while still incorporating wholesome, high-quality ingredients.
FAQs About Homemade Eskimo Pie Popsicles
1. How long can I store homemade Eskimo Pie popsicles in the freezer?
You can store these popsicles in an airtight container in the freezer for up to two weeks. Be sure to layer parchment paper between popsicles if you’re stacking them to prevent sticking.
2. Can I use dairy-free ice cream for this recipe?
Yes! You can easily swap regular ice cream for dairy-free alternatives like coconut, almond, or oat milk-based ice creams. The chocolate coating will work the same way regardless of the type of ice cream you use.
3. What if I don’t have a popsicle mold?
If you don’t have a traditional popsicle mold, you can use small paper cups or silicone muffin molds. Simply fill the cups with ice cream, insert the popsicle sticks, and freeze them as you would with regular molds.
Conclusion: Why You’ll Love This Homemade Eskimo Pie Popsicle Recipe
This homemade Eskimo Pie popsicle recipe is the perfect way to relive the joy of a classic treat in your own kitchen. The combination of creamy vanilla ice cream and rich chocolate coating makes these popsicles irresistible, and the ability to customize flavors and toppings adds a fun, personal touch. Whether you’re making them for yourself or sharing them with friends and family, these popsicles are sure to be a hit.
The process is simple, the ingredients are customizable, and the end result is a treat that’s both delicious and nostalgic. For more dessert inspiration, don’t forget to check out the dessert category on MixyRecipes for more sweet ideas. If you’re interested in exploring even more frozen desserts, this frozen dessert collection from Southern Living offers creative and refreshing options.

Now that you have the full guide to making homemade Eskimo Pie popsicles, it’s time to get in the kitchen and create these delicious treats yourself. Enjoy!
