
In the vibrant world of cake baking, combining delicious flavors with intricate designs can turn a simple dessert into an edible work of art. Enter the Bead n Cake Bake Recipes, where baking meets the creativity of beadwork in a beautiful and delicious fusion. Whether you’re an experienced baker or a beginner with a love for both food and design, this recipe offers a unique opportunity to craft a cake that’s as stunning as it is scrumptious.
This in-depth guide will take you step-by-step through the process of creating a delicious bead n cake. We’ll focus on crafting a decadent chocolate cake, making light and fluffy buttercream frosting, and piping intricate bead designs that transform your dessert into a visual masterpiece. Ready to jump into the world of bead n cake baking? Let’s get started!
The Art and Science of Bead n Cake Baking
What Is Bead n Cake Baking?
Bead n cake baking combines traditional baking techniques with intricate, bead-like designs. Imagine piping delicate, bead-like decorations along the edges of your cake, mimicking the intricate detail of beaded jewelry or embroidery. These designs can be created using piped frosting, fondant, or edible pearls to add depth and visual appeal to your cake.
Whether you want simple, uniform bead designs or complex, multi-layered patterns, bead n cake recipes provide endless room for creativity. The base cake can be any flavor, from vanilla to rich chocolate, and the bead design allows for artistic expression that suits any occasion—from birthdays to weddings.
Here’s why bead n cake baking is so popular:
- Customization: Create bead designs in any color or pattern to match your event’s theme.
- Creative Expression: This type of cake allows bakers to let their creativity flow, with endless design possibilities.
- Aesthetic Appeal: These cakes are as beautiful to look at as they are delicious to eat.
- Suitable for All Skill Levels: With the right tools and a bit of practice, even novice bakers can master the art of bead n cake baking.
So, whether you’re a beginner or a seasoned baker looking to add more creativity to your cakes, bead n cake baking is a fantastic way to blend art with dessert.
Ingredients You Will Need for the Bead n Cake Bake
To make this delicious bead n cake, you’ll first need to gather your ingredients. The list below is divided into ingredients for the chocolate cake base and the buttercream frosting. Most of these items are pantry staples, making this cake as convenient to bake as it is impressive.
For the Chocolate Cake Base:
- 2 cups all-purpose flour (one of your primary dry ingredients)
- 1 ½ cups brown sugar (for added richness and moisture)
- 1 cup unsweetened cocoa powder
- 1 ½ teaspoons baking powder
- ½ teaspoon baking soda
- ½ teaspoon salt
- 1 cup unsalted butter, softened to room temperature
- 1 ½ cups granulated sugar
- 4 large eggs (added one at a time to avoid curdling)
- 2 teaspoons vanilla extract
- 1 ½ cups buttermilk, room temperature
- 1 ½ cups chocolate chips (for extra melty goodness)
For the Buttercream Frosting:
- 1 cup unsalted butter, softened to room temperature
- 4 cups powdered sugar
- 1 tablespoon vanilla extract
- 2-3 tablespoons heavy cream (adjust for consistency)
Step-by-Step Guide to Bead n Cake Baking
Now that we’ve gathered the ingredients, let’s get into the nitty-gritty of making your bead n cake bake. We’ll break down the process into easy-to-follow steps to ensure your cake is baked to perfection and beautifully decorated.
Step 1: Preheat and Prepare Your Pans
First things first: set your oven temperature to 350°F (175°C). Preheating is crucial in baking to ensure that your cake rises evenly and cooks through without burning.
While your oven preheats, prepare two 9-inch round cake pans by greasing them with butter and lightly dusting with flour. This step helps to ensure your cake layers release cleanly after baking. For extra insurance, line the bottom of each pan with parchment paper.
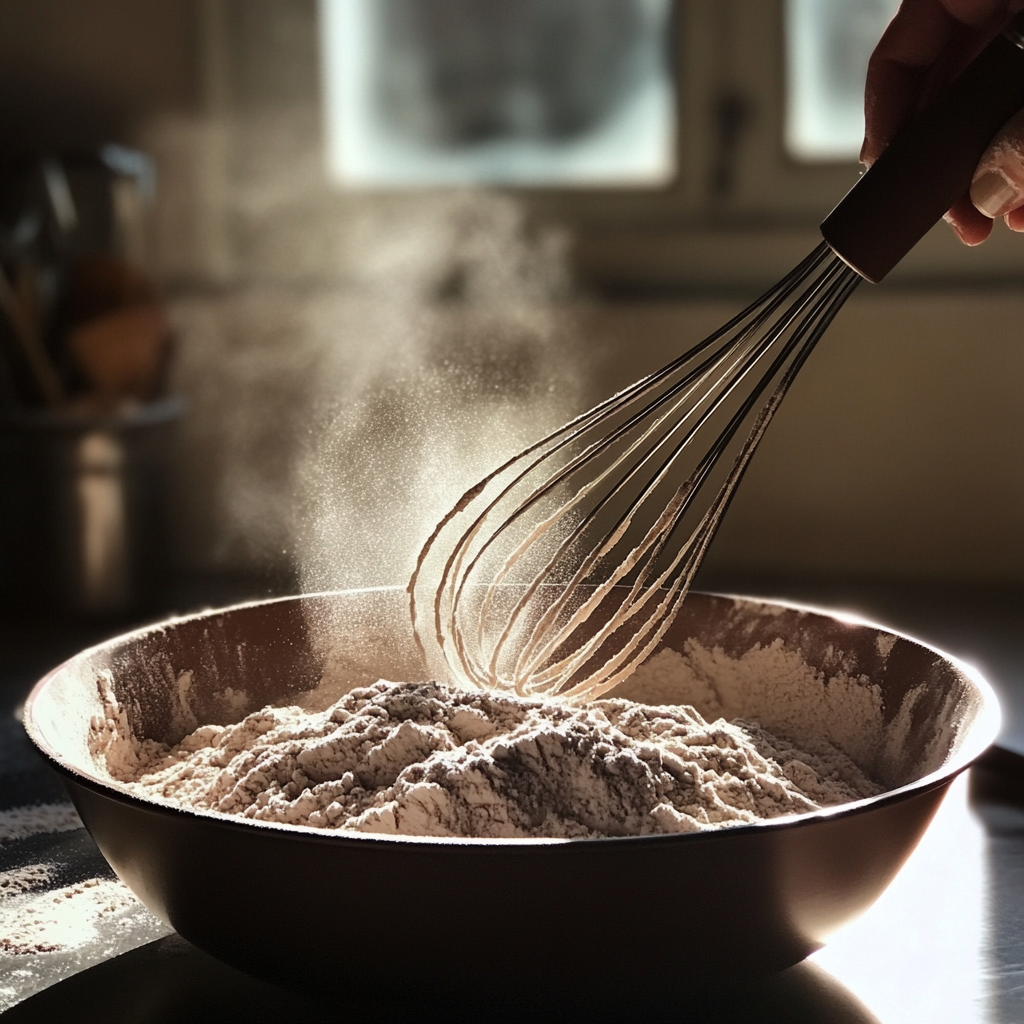
Step 2: Whisk Together the Dry Ingredients
In a large bowl, whisk together your dry ingredients: the all-purpose flour, cocoa powder, baking powder, baking soda, and salt. Whisking helps to evenly distribute the leavening agents and cocoa throughout the flour, ensuring that your cake rises evenly and has a consistent chocolate flavor.
Step 3: Cream the Butter and Sugar
In a separate large bowl or using a stand mixer, cream the butter and sugar together on medium speed until the mixture becomes light and fluffy. This should take about 3-4 minutes, and it’s a critical step for creating a tender, moist cake. Creaming the butter and sugar incorporates air into the batter, which helps the cake rise.
Next, add the brown sugar and mix for another minute or two. The brown sugar adds an extra layer of moisture and a deep, caramel-like flavor to complement the chocolate cake base.
Step 4: Add Eggs One at a Time
Once your butter and sugar mixture is light and fluffy, it’s time to add the eggs. Crack in the eggs, one at a time, beating well between each addition. Adding the eggs one at a time ensures that they are fully incorporated, which prevents the batter from separating or curdling.
After all the eggs are mixed in, add the vanilla extract and mix until combined.
Step 5: Combine Wet and Dry Ingredients
Turn your mixer to a low speed and slowly alternate between adding the dry ingredients and the buttermilk to the butter mixture. Start with about one-third of the dry ingredients, mix just until combined, then add half of the buttermilk. Repeat the process until all of the dry ingredients and buttermilk have been incorporated.
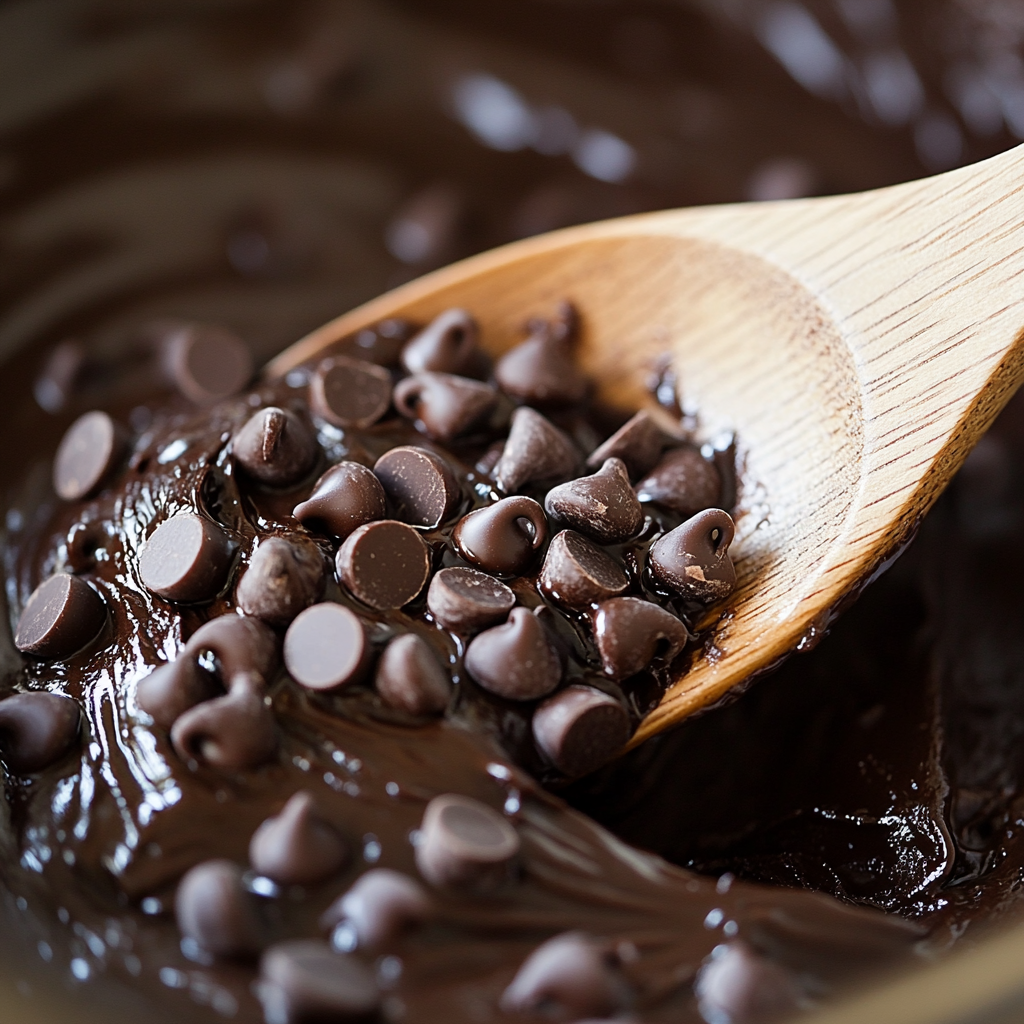
Be careful not to overmix the batter, as this can make the cake tough. Stop mixing as soon as everything is evenly combined. At this point, fold in your chocolate chips by hand, making sure they are evenly distributed throughout the batter.
Step 6: Pour and Bake
Once your batter is ready, divide it evenly between the two prepared cake pans. Use a spatula to smooth the tops and gently tap the pans on the counter to remove any trapped air bubbles.
Place the pans in the preheated oven and bake for 30-35 minutes. To check if the cakes are done, insert a toothpick into the center—if it comes out clean or with a few moist crumbs, your cake is ready. If you find wet batter on the toothpick, bake for a few more minutes and test again.
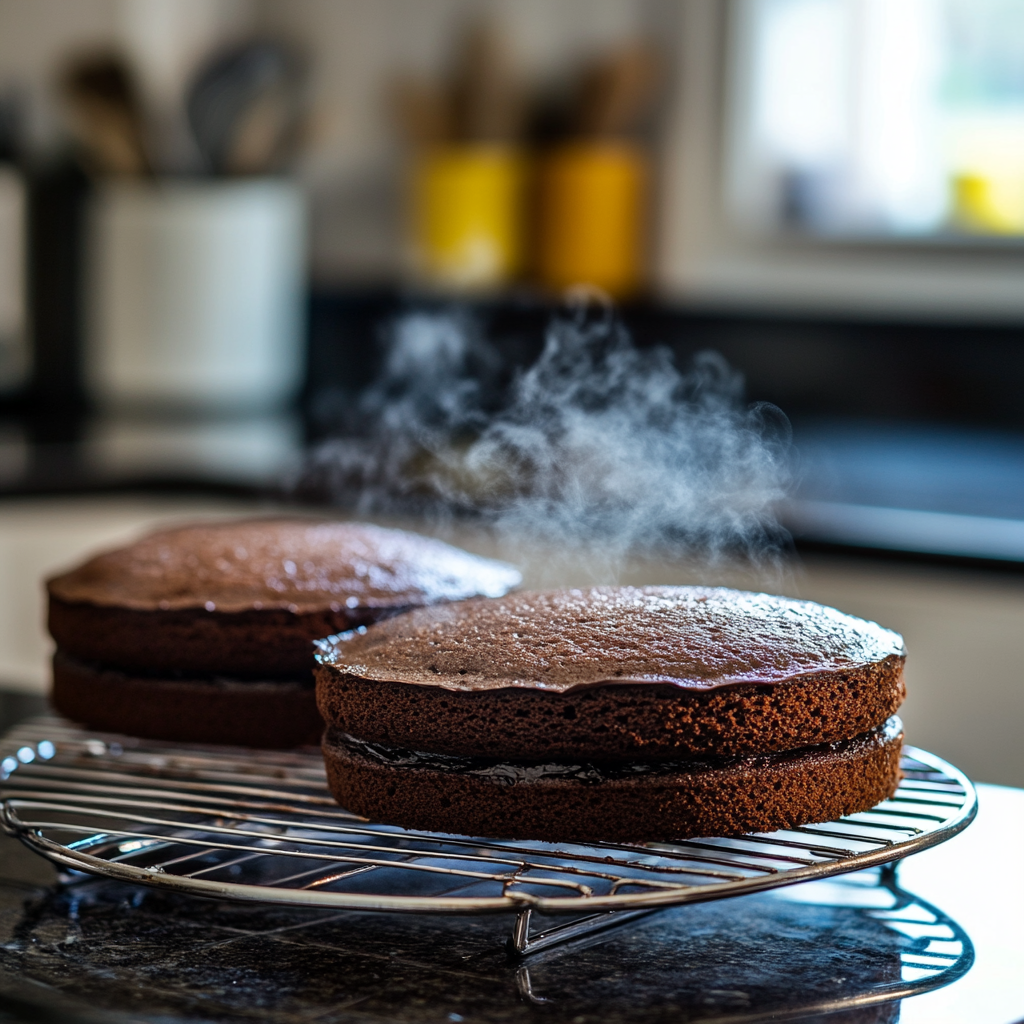
Step 7: Cool on a Rack
When your cakes are done, remove them from the oven and allow them to cool in the pans for about 10 minutes. Then, gently turn them out onto a wire rack to cool completely. Cooling on a rack allows air to circulate around the entire cake, ensuring the bottoms don’t get soggy.
Crafting the Buttercream Frosting
While your cakes cool, it’s time to prepare the buttercream frosting. This frosting will serve both as the delicious coating for your cake and as the medium for your bead decorations.
Step 1: Cream the Butter
In your stand mixer, beat the softened butter on medium speed for 2-3 minutes, or until it becomes creamy and smooth. Be sure to use room temperature butter for the best results—cold butter won’t mix properly, and melted butter will make the frosting too runny.
Step 2: Add Powdered Sugar
Turn the mixer down to low and slowly add the powdered sugar, one cup at a time. Mixing on low prevents the sugar from puffing out of the bowl. Once all the powdered sugar is incorporated, increase the speed to medium-high and beat for another 2 minutes until the frosting is smooth and fluffy.
Step 3: Add Vanilla and Cream
Finally, add the vanilla extract and 2 tablespoons of heavy cream. Beat the frosting for another 2-3 minutes until it’s light, fluffy, and easily spreadable. If the frosting is too thick, add a bit more cream, one tablespoon at a time. If it’s too thin, add more powdered sugar until you reach the desired consistency.
Assembling Your Bead n Cake Bake
Now that your cakes have cooled and your buttercream is ready, it’s time to assemble and decorate your cake. The goal is to create a beautiful, bead-like design that will elevate your cake to a whole new level.
Step 1: Level the Cake Layers
Using a serrated knife, carefully level the tops of both cake layers. This step ensures that your cakes stack evenly and makes for a more polished final presentation. If your cakes have domed tops, trim them off to create a flat surface.
Step 2: Apply the Crumb Coat
Place one cake layer on a cake stand or serving plate. Spread a generous layer of buttercream over the top. Then, place the second layer on top. Apply a thin crumb coat of frosting over the entire cake. The crumb coat acts as a base layer, locking in any stray crumbs so that your final layer of frosting is smooth and flawless.
Once the crumb coat is applied, refrigerate the cake for 20-30 minutes to allow it to set.
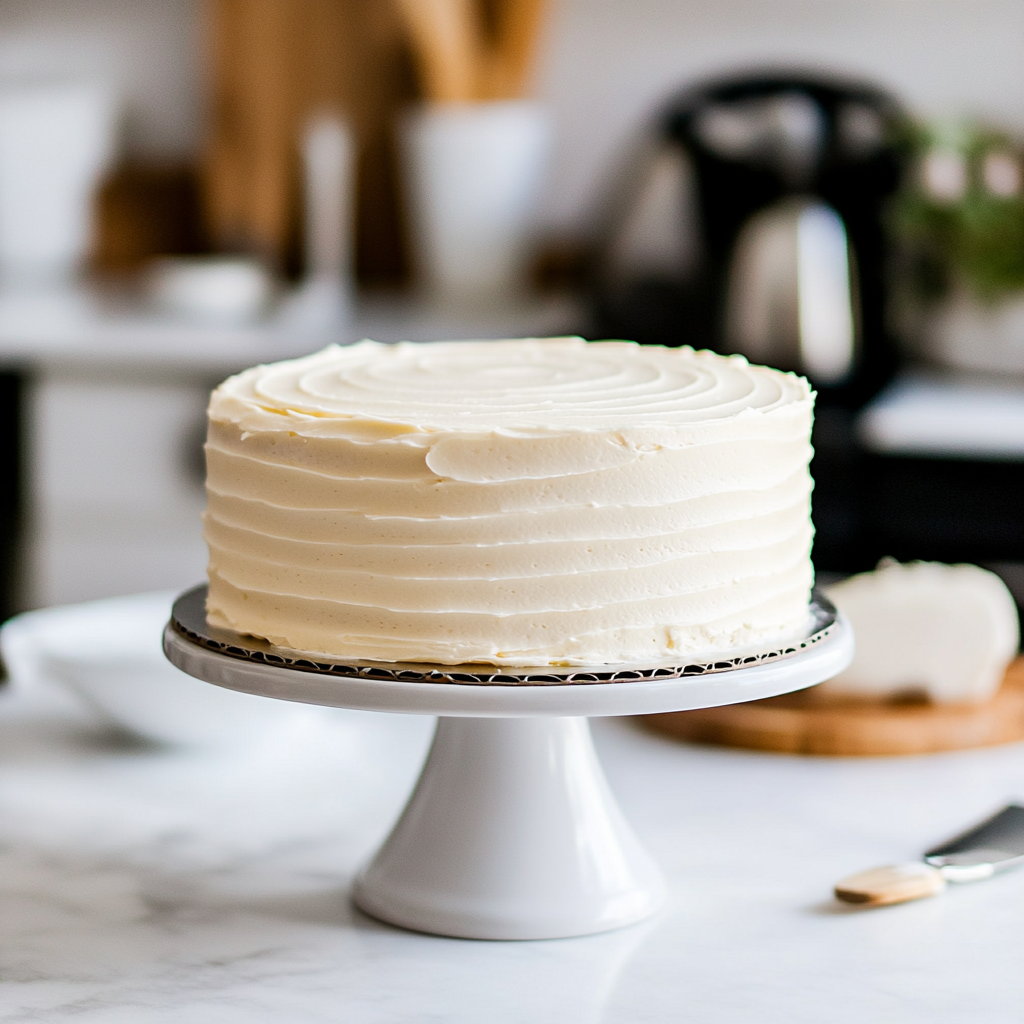
Step 3: Frost the Cake
After the crumb coat has set, apply the final layer of frosting. Use an offset spatula to spread a smooth, even layer of buttercream over the entire cake. Take your time to ensure that the frosting is as smooth as possible, as this will form the backdrop for your bead design.
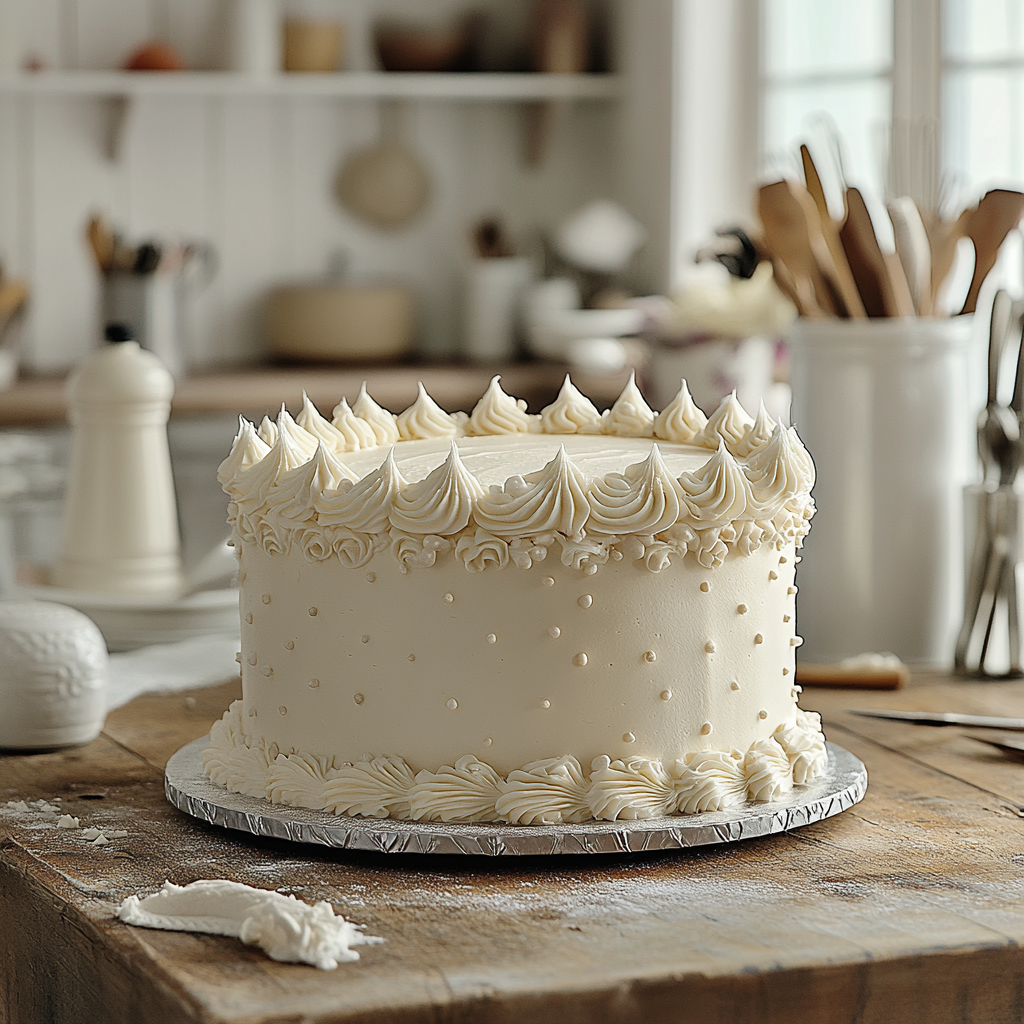
Bead n Cake Decorating: The Fun Part!
Now that your cake is frosted and smooth, it’s time to decorate it with bead designs. This is where you can let your creativity shine! The great thing about bead n cake baking is that you can go as simple or as elaborate as you like.
Step 1: Choose Your Piping Tip
For piped bead designs, you’ll need a piping bag fitted with a small round tip. A size 3 or 4 piping tip works well for creating uniform beads. If you prefer a larger, bolder bead design, you can use a larger round tip.
Step 2: Practice Your Beads
Before piping directly onto the cake, practice a few bead designs on a piece of parchment paper. This will help you get a feel for the pressure needed to create uniform, consistent beads.
To pipe a bead, hold the piping bag perpendicular to the surface of the cake. Apply gentle, consistent pressure to form a round bead, then release pressure as you pull the tip away. Repeat this process to create a line or pattern of beads around the edges of the cake.
Step 3: Add Your Bead Design
Once you’re comfortable with your piping technique, start piping beads along the borders of the cake. You can pipe a single row of beads around the base and top edges for a classic, elegant look, or create more elaborate designs such as swirls, spirals, or even floral patterns.
For added flair, consider using edible pearls or small sugar beads to accentuate your design. You can also experiment with different colors of buttercream to make your bead designs pop.
If you’re looking to master the art of piped bead decorations, check out this guide on piping pearl and beaded garlands, perfect for creating elegant bead designs on cakes
Serving and Storing Your Bead n Cake Bake
Once your bead n cake bake is beautifully decorated, it’s time to serve and enjoy! Here’s how to ensure your cake tastes as amazing as it looks.
Serving the Cake
To serve, use a sharp, serrated knife to slice the cake cleanly. For the best presentation, wipe the knife clean between cuts to avoid smearing frosting. Serve the cake with a cup of coffee, tea, or even a glass of cold milk for the ultimate dessert experience.
This rich chocolate cake, with its fluffy buttercream frosting and intricate bead designs, is sure to be a hit at any gathering.
Storing Your Cake
If you have leftovers (though they may disappear quickly!), you can store the cake at room temperature in an airtight container for up to three days. If you live in a warm or humid climate, refrigerate the cake to prevent the buttercream from melting. Just remember to bring the cake back to room temperature before serving to ensure the best flavor and texture.
Troubleshooting Your Bead n Cake Baking Experience
Baking and decorating can sometimes come with challenges, but don’t worry—we’ve got you covered with solutions to common issues that may arise during your bead n cake bake.
Dry Cake
If your cake turns out too dry, the problem could be overbaking or overmixing. Always keep an eye on the baking time and check for doneness a few minutes before the recipe suggests. Also, be sure to measure your ingredients accurately—using too much flour can lead to a dry cake.
Flat or Dense Cake
If your cake doesn’t rise properly, check the freshness of your baking powder and baking soda. These leavening agents lose their effectiveness over time, which can result in flat cakes. Another common cause of dense cakes is overmixing the batter—mix just until the ingredients are combined.
Runny Frosting
If your buttercream frosting is too runny, it may need more powdered sugar to thicken it up. On the other hand, if your frosting is too thick and difficult to pipe, add a bit more heavy cream, one tablespoon at a time, until it reaches the desired consistency.
Beads Not Holding Shape
If your piped bead designs aren’t holding their shape, the frosting might be too soft. Try refrigerating your buttercream for 10-15 minutes to firm it up before piping. Also, be sure to apply even pressure while piping, and practice to perfect your technique.
Flavor Variations for Your Bead n Cake Bake
Now that you’ve mastered the basic bead n cake recipe, it’s time to explore some delicious flavor variations to keep things interesting. Whether you prefer fruity flavors or want to experiment with different cake bases, the possibilities are endless!
1. Vanilla Bead n Cake
For a lighter, more traditional cake, try swapping out the cocoa powder for an extra ¼ cup of flour and increase the vanilla extract to 1 tablespoon. The result is a tender, buttery vanilla bead n cake that pairs beautifully with any color or style of bead design.
2. Lemon Bead n Cake
To create a zesty, refreshing twist, add the zest of two lemons to the cake batter and replace the vanilla extract with lemon extract. You can also flavor the buttercream frosting with lemon juice for an extra citrusy punch. This bright, tangy version of the bead n cake is perfect for spring and summer celebrations.
3. Raspberry Chocolate Bead n Cake
For a decadent twist, fold fresh raspberries into your buttercream frosting and spread it between the layers of your chocolate cake. The tartness of the raspberries balances out the richness of the chocolate, creating a flavor combination that’s both sophisticated and delicious.
4. Coffee and Caramel Bead n Cake
For coffee lovers, add a tablespoon of instant espresso powder to your cake batter for a subtle mocha flavor. Pair this with a caramel-flavored buttercream for a cake that’s both rich and indulgent. You can even drizzle caramel sauce over the top of the cake for extra flair.
Going Beyond: Mastering Advanced Bead n Cake Techniques
Once you’re comfortable with the basics of bead n cake baking, why not push your skills further? Advanced bead n cake designs can be incredibly intricate and involve more complex techniques, such as creating 3D designs, floral bead patterns, or even bead cascades that drip beautifully down the sides of the cake.
3D Bead Designs
To create more dynamic and visually striking cakes, experiment with 3D bead designs. Using a combination of piped frosting and fondant beads, you can create cascading bead designs that give your cake a sense of movement and depth. These designs are perfect for special occasions like weddings or milestone birthdays.
Floral Bead Patterns
Floral bead patterns are another great way to elevate your bead n cake design. You can use frosting to pipe small bead-like petals around the top and sides of the cake, or add delicate, edible flowers as accents. The combination of intricate bead designs and soft floral touches will make your cake look like a garden in bloom.
Exploring the World of Bead n Cake Recipes
One of the best parts of learning how to bake and decorate a bead n cake is the endless possibilities for customization. Whether you want to try new flavors, experiment with beadwork designs, or craft cakes for specific occasions, there’s always more to explore in the world of bead n cake baking.
Bead n Cake Baking for Special Occasions
If you’re looking to impress guests at a special event, a beautifully decorated bead n cake is always a crowd-pleaser. Consider tailoring your bead designs to fit the theme of the occasion. For example, you can use pastel-colored beads for a baby shower or bold, jewel-toned beads for a birthday party.
You can also make use of seasonal ingredients to create flavors that match the time of year. For instance, a rich pumpkin spice cake with bead decorations could be a hit at a fall gathering, while a coconut-lime bead n cake would be a refreshing treat in the summer.
Conclusion: Embark on Your Bead n Cake Baking Journey
Bead n cake baking is more than just creating a delicious dessert—it’s a form of edible art that allows you to express your creativity and skill. Whether you’re decorating a simple, elegant cake or crafting an elaborate, bead-adorned masterpiece, the process is as rewarding as the result.
With this in-depth bead n cake bake recipe, you’ve learned how to make a rich chocolate cake, whip up light and fluffy buttercream, and decorate your cake with intricate bead designs. You’ve also explored flavor variations, troubleshooting tips, and advanced techniques that will take your baking to the next level.
The beauty of bead n cake baking is that it offers endless opportunities for customization and creativity. So gather your ingredients, preheat the oven, and dive into the world of bead n cake baking. Whether you’re baking for a special occasion or simply indulging your love for cake and design, this recipe is sure to impress.
For more exciting recipes, don’t forget to check out the Breakfast, Brunch, Snacks, and Dessert categories on my blog. Happy baking!