Vanilla Whoopie Pie Recipe : Introduction
Who doesn’t love a delicious, soft, and creamy vanilla whoopie pie? Whether you’re planning a cozy dessert night with family or making a batch of treats for a special event, this classic recipe is sure to win everyone’s hearts. With its delicate vanilla flavor, perfectly soft cakes, and creamy filling, it’s the perfect dessert to please any crowd. If you’re new to whoopie pies or looking for a reliable recipe, this guide is packed with tips and variations to help you achieve whoopie pie perfection. And, of course, if you’re in the mood for even more sweets, don’t miss out on our Desserts category, where you’ll find plenty of other mouthwatering recipes to explore.
Ingredient Overview for Perfect Vanilla Whoopie Pies
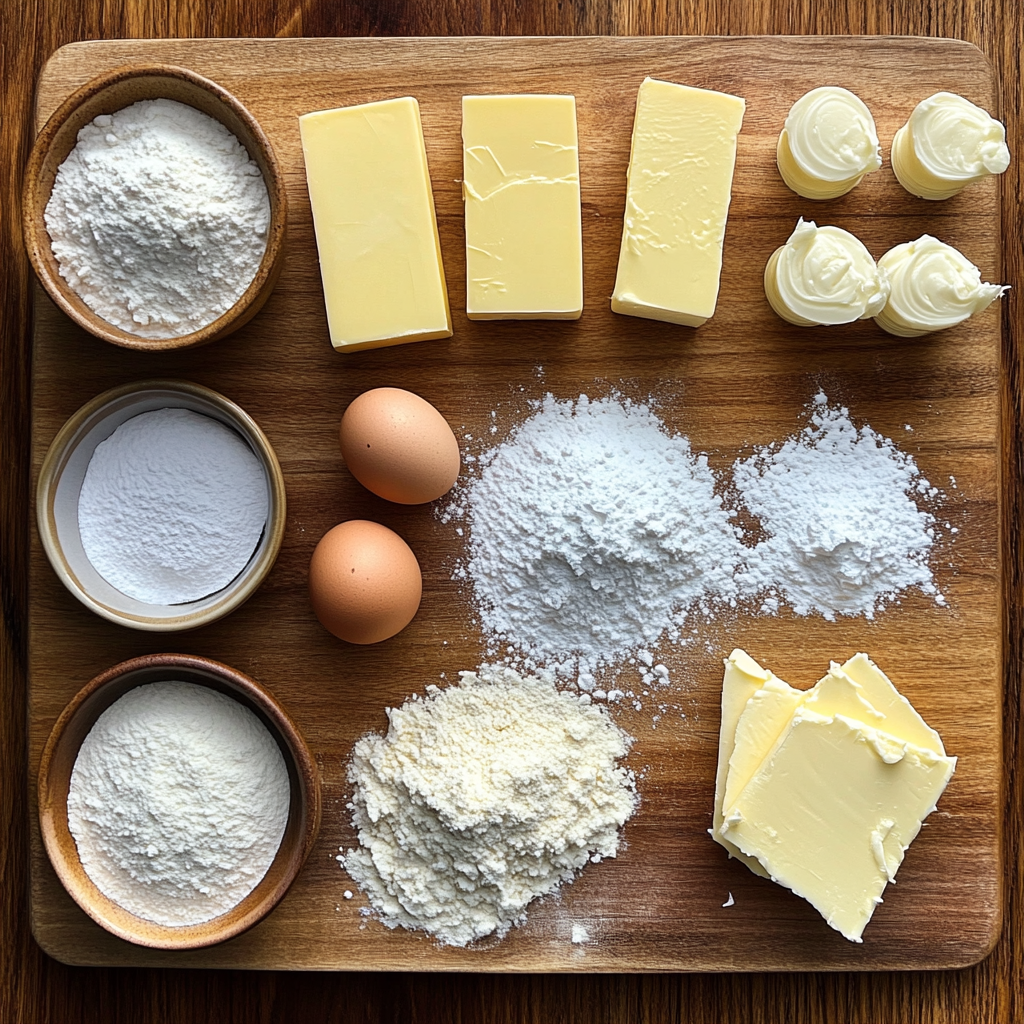
When it comes to baking the perfect vanilla whoopie pies, the ingredients you use are key to achieving that soft, fluffy texture and balanced sweetness. Below, we’ll break down each ingredient, explain why it’s important, and offer suggestions for substitutions to accommodate dietary needs.
Key Ingredients:
- All-purpose flour: The backbone of any baked good, all-purpose flour provides structure to your whoopie pies. It gives them a soft yet firm base that can hold up to the creamy filling. If you want to go gluten-free, use a 1:1 gluten-free flour mix to maintain the texture without compromising the structure.
- Granulated sugar: This not only sweetens your whoopie pies but also helps with the browning process. The sugar reacts with the heat to create a beautifully golden crust on the cakes, which is essential for both flavor and texture.
- Baking powder and salt: Baking powder helps the cakes rise while the salt enhances all the flavors in the recipe, balancing the sweetness and adding complexity to the overall taste.
- Unsalted butter: Unsalted butter is key for controlling the amount of salt in your recipe. It provides that rich, buttery flavor that makes whoopie pies so irresistible. Remember, you’ll need it both for the cakes and the creamy filling.
- Eggs: Add the eggs one at a time to ensure a smooth batter. The eggs help bind the ingredients together and give the whoopie pies a tender crumb.
- Vanilla extract: The star flavor of this recipe! Vanilla extract adds that warm, aromatic sweetness that sets these pies apart from chocolate or other variations. Don’t skimp on this ingredient; using high-quality vanilla will elevate the flavor of your whoopie pies.
- Milk: Adding a bit of milk helps keep the batter moist, ensuring your whoopie pies stay soft and tender.
- Cream cheese: Essential for the filling, cream cheese makes the center of your whoopie pies smooth, creamy, and slightly tangy, which contrasts perfectly with the sweet cakes.
- Powdered sugar: For the filling, powdered sugar is a must to achieve that smooth, non-grainy texture.
Substitutions for Dietary Preferences:
- Gluten-free flour: Substitute all-purpose flour with a 1:1 gluten-free baking mix.
- Dairy-free: Use vegan butter and dairy-free cream cheese for the filling and cakes. You can also replace the milk with a plant-based option like almond, soy, or oat milk.
- Vegan option: For a vegan version, replace the eggs with a flaxseed mixture (1 tablespoon of ground flaxseed mixed with 3 tablespoons of water = 1 egg).
If you’re looking for more sweet snacks or desserts to try, check out our Snacks section for more ideas!

Essential Tools You Need to Make Vanilla Whoopie Pies
Baking vanilla whoopie pies is an enjoyable process, and having the right tools can make all the difference in the ease and efficiency of your preparation. While you don’t need any specialty equipment, a few key kitchen tools will make the process smoother and ensure the best results.
Must-Have Tools:
- Mixing bowls: You’ll need a large bowl for mixing your batter and a medium-sized bowl for the filling. If you have multiple bowls, it’s easier to keep ingredients organized and prep steps separate.
- Stand mixer or electric mixer: A stand mixer or an electric mixer will make your life much easier, especially when it comes to creaming the butter and sugar. You’ll use the mixer to beat the butter until light and fluffy, then gradually add the eggs and other ingredients. If you don’t have a mixer, a wooden spoon and a strong arm will do, but be prepared for a bit more effort!
- Baking sheets: Flour baking sheets with parchment paper to ensure that the whoopie pies don’t stick. Parchment paper is a lifesaver when it comes to easy cleanup and even baking.
- Cookie scoop: A cookie scoop ensures that each of your whoopie pie halves is the same size. This will help with even baking and make your pies look more professional when assembled.
- Cooling rack: Once baked, transfer your whoopie pies to a rack to cool completely. This prevents the bottoms from becoming soggy and helps them cool faster, so you can move on to filling them sooner.
- Parchment paper: As mentioned earlier, lining your baking sheets with parchment paper will prevent sticking and make cleanup a breeze.
Alternative Tools:
- Whisk: If you don’t have a mixer, use a whisk for the wet ingredients and a wooden spoon for folding in the dry ingredients.
- Measuring cups and spoons: Precision is key in baking, so be sure to measure all your ingredients carefully to ensure consistency in your pies.
For more recipes that use similar tools and techniques, check out our Dinner section where we explore a variety of delicious meals!
Step-by-Step Instructions for Vanilla Whoopie Pies
Making vanilla whoopie pies is a process that can be broken down into a few simple steps. Whether you’re a seasoned baker or just starting, this detailed guide will walk you through every stage to ensure your pies turn out perfectly.
Step 1: Preheat Your Oven and Prepare Your Baking Sheets
- Preheat your oven to 350°F (175°C). This allows your oven to heat evenly while you prepare your ingredients.
- Flour baking sheets with parchment paper to prevent sticking. The parchment paper helps the pies bake evenly and makes cleanup effortless.
Step 2: Prepare the Batter
- In a large bowl, whisk together 2 cups of all-purpose flour, 1 1/2 teaspoons of baking powder, and a pinch of salt. This dry flour mixture will be the base of your cakes.
- In a separate bowl, use your stand mixer or electric mixer to beat the butter (1/2 cup of unsalted butter) and 1 cup of granulated sugar until the mixture becomes light and fluffy. This process should take about 3-4 minutes.
- Add the eggs one at a time, ensuring that each egg is fully incorporated before adding the next. Then, slowly add in 1 teaspoon of vanilla extract for that signature flavor.
- Gradually add the flour mixture to the wet ingredients, alternating with 1/2 cup of milk. Mix just until the ingredients are combined; you don’t want to overmix the batter.
Step 3: Scoop and Bake
- Use a cookie scoop to drop equal portions of batter onto your prepared baking sheets, leaving about 2 inches of space between each dollop. The batter will spread, so be sure to give them room.
- Bake in the preheated oven for 10-12 minutes, or until the tops spring back when lightly touched. The edges should be lightly golden but not overdone.
- Transfer the cakes to a rack to cool completely before assembling.
Step 4: Prepare the Filling
- In a medium-sized bowl, combine 1/2 cup of cream cheese, 1/4 cup of unsalted butter, 1 teaspoon of vanilla extract, and 2 cups of powdered sugar.
- Use your electric mixer to beat until combined and the filling is smooth and fluffy. If the filling is too thick, you can add a teaspoon of milk to loosen it up.
Step 5: Assemble the Whoopie Pies
- Once the cakes have cooled completely, spread a generous amount of filling on the flat side of one cake. Top with a second cake to create a sandwich.
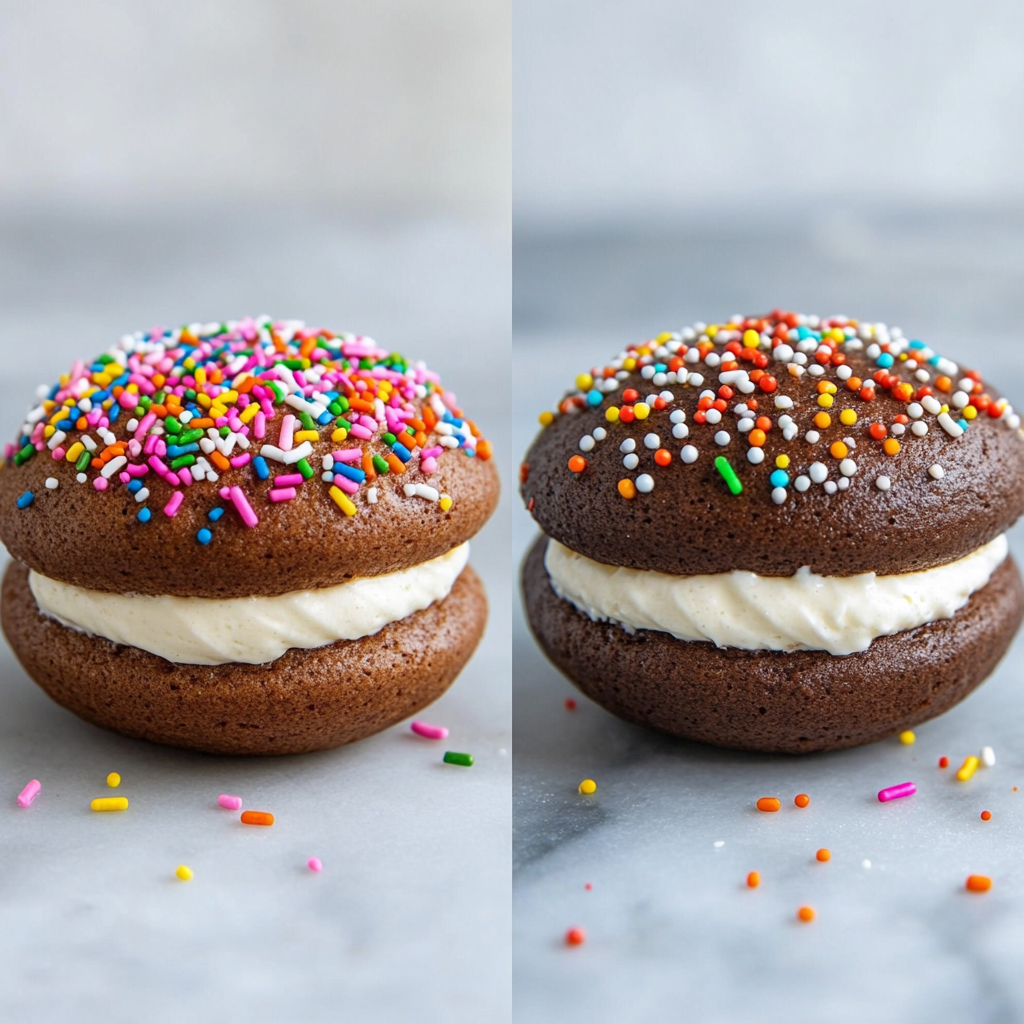
- For a fun touch, roll the edges of the whoopie pies in sprinkles or crushed nuts.
For a similar recipe method, visit our Breakfast section for more easy baking ideas.
Flavor Variations for Vanilla Whoopie Pies
One of the best things about vanilla whoopie pies is how versatile they are. You can easily adapt the flavors to suit your taste or dietary needs. Whether you prefer a traditional version or want to try something a bit more adventurous, here are some flavor variations to consider.
Traditional Vanilla Whoopie Pies:
This classic version uses the standard recipe outlined above. The delicate vanilla cakes are soft and fluffy, perfectly complemented by the creamy vanilla filling. This is the go-to recipe for anyone who loves the timeless taste of vanilla extract.
Vegan Vanilla Whoopie Pies:
To make these pies vegan, simply substitute the unsalted butter with vegan butter, the cream cheese with a dairy-free alternative, and the eggs with a flaxseed mixture (1 tablespoon ground flaxseed + 3 tablespoons water = 1 egg). The flavor remains just as delicious, with a creamy, dairy-free filling.
Gluten-Free Vanilla Whoopie Pies:
If you’re gluten-free, you can easily substitute the all-purpose flour with a 1:1 gluten-free baking flour. The rest of the ingredients remain the same, so you’ll still get that soft, pillowy texture in your pies.
Chocolate Swirl Vanilla Whoopie Pies:
For a fun twist, divide the batter in half and add 2 tablespoons of cocoa powder to one half. Swirl the two batters together on your prepared baking sheets before baking to create a beautiful marbled effect.
For more fun snack ideas, check out our Snacks section, where you’ll find other easy and delicious recipes to complement your whoopie pies.

Expert Tips for Making the Best Vanilla Whoopie Pies
While the recipe is simple, there are a few expert tips that can help you elevate your vanilla whoopie pies from good to great. These tips will ensure that your pies come out perfect every time, with the right texture, flavor, and appearance.
Tip 1: Chill the Dough
If your batter is too soft or sticky, try refrigerating it for 30 minutes before scooping it onto your prepared baking sheets. This helps the pies hold their shape during baking and makes the batter easier to work with.
Tip 2: Use a Cookie Scoop for Even Sizes
One of the keys to perfectly baked whoopie pies is making sure they’re all the same size. A cookie scoop will help you portion out even amounts of batter, ensuring that your pies bake evenly and look uniform when assembled.
Tip 3: Don’t Overbake
Vanilla whoopie pies should be soft and tender, so be careful not to overbake them. They’re done when the edges are lightly golden and the tops spring back when touched. Overbaking will result in dry, crumbly cakes that won’t pair as well with the creamy filling.
Tip 4: Wait for the Pies to Cool Completely
It can be tempting to assemble your whoopie pies right away, but make sure the cakes are fully cooled. If they’re still warm, the filling will melt and make a mess. Let them cool on a rack to cool completely before adding the filling.
For more tips and tricks on mastering desserts, head over to our Dinner section for similar recipes that require precision and expert baking techniques.
Nutritional Information for Vanilla Whoopie Pies
While vanilla whoopie pies are undoubtedly a treat, it’s always good to know what you’re consuming. Here’s a quick breakdown of the nutritional content of these delightful desserts:
- Calories: Each pie contains approximately 300-350 calories, depending on the size and amount of filling.
- Fats: These pies are rich in fat, primarily from the unsalted butter and cream cheese filling. However, you can lower the fat content by using vegan or low-fat alternatives.
- Sugars: With about 15-20 grams of sugar per pie, this recipe offers a satisfying sweetness without going overboard.
- Protein: Eggs contribute some protein, with each whoopie pie offering around 4 grams of protein.
For more in-depth nutritional advice or to explore other healthy dessert alternatives, check out reputable health blogs like Healthline, where you’ll find insights into calorie counting and ingredient swaps.
Serving Suggestions for Vanilla Whoopie Pies
Vanilla whoopie pies are delicious on their own, but they can also be elevated with the right pairings. Whether you’re serving them as a dessert or snack, here are a few ideas for what to serve alongside your pies to create the perfect combination.
Fresh Fruit:
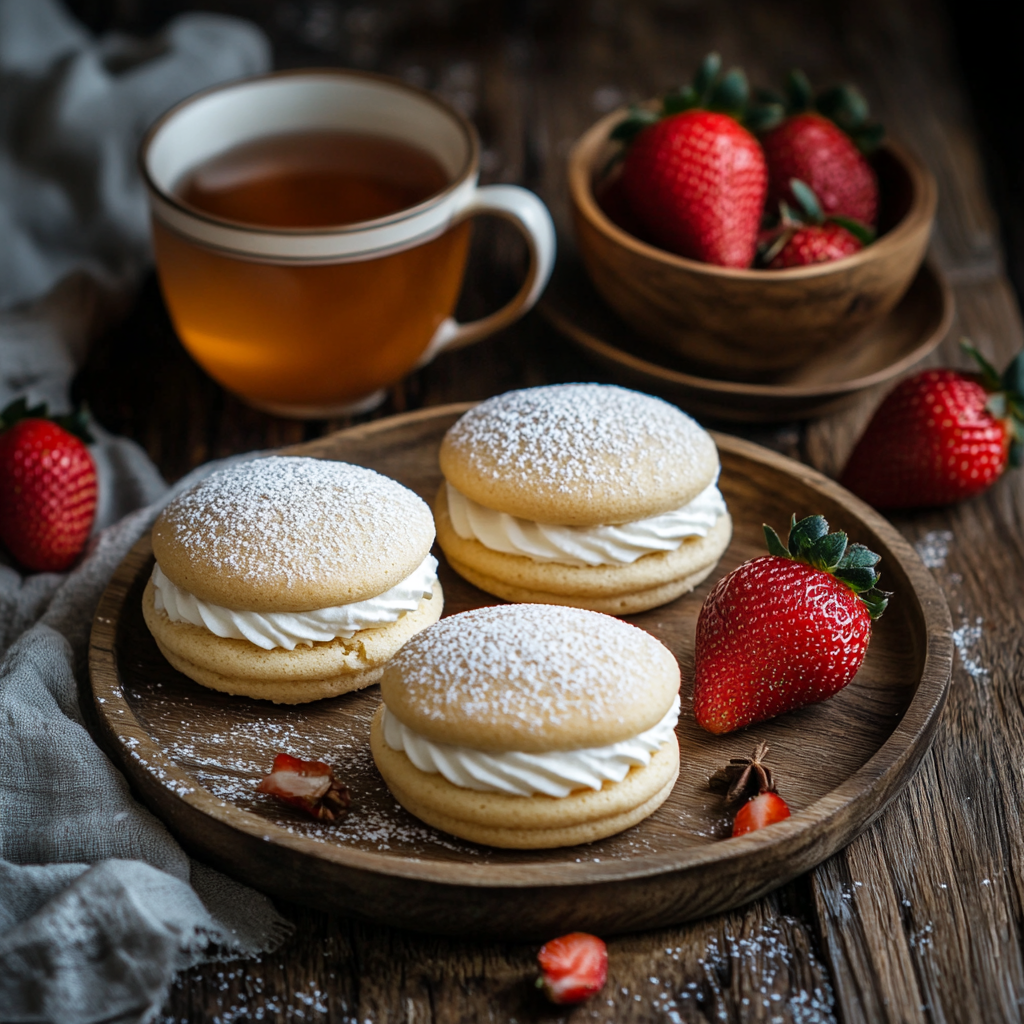
Pair your whoopie pies with a side of fresh, seasonal fruit like strawberries, raspberries, or blueberries. The tartness of the fruit will balance the sweetness of the pies, making for a well-rounded dessert experience.
Hot Beverages:
Whoopie pies pair beautifully with warm drinks like coffee, tea, or hot cocoa. The soft, creamy texture of the pies contrasts nicely with a hot beverage, making this an ideal afternoon treat.
Ice Cream:
For an indulgent dessert, serve your whoopie pies with a scoop of vanilla or chocolate ice cream. The cold, creamy ice cream complements the fluffy cakes and creamy filling perfectly.
Looking for more dessert pairings? Check out our Dinner section for other delightful meal ideas that could be paired with these pies.

How to Store Vanilla Whoopie Pies
Knowing how to store your vanilla whoopie pies properly will ensure they stay fresh and delicious for as long as possible. Here are a few tips on how to store them, whether you’re keeping them for a few days or planning to freeze them for later.
Refrigeration:
- Store the whoopie pies in an airtight container in the refrigerator. They’ll stay fresh for up to 3 days. Be sure to allow them to come to room temperature before serving, as this will help soften the filling and cakes.
Freezing:
- If you want to store your whoopie pies for a longer period, freezing is a great option. Freeze the unfilled cakes in a single layer on a baking sheet, then transfer them to an airtight container or freezer bag. The cakes will keep for up to 2 months in the freezer. When you’re ready to enjoy them, thaw the cakes in the refrigerator overnight, then add the filling.
For more storage tips and advice, head over to our Dinner section where you can find information on how to properly store other baked goods and desserts.
Frequently Asked Questions About Vanilla Whoopie Pies
Here are some of the most frequently asked questions about making and storing vanilla whoopie pies. These questions and answers will help you troubleshoot any issues and ensure you get the best results every time.
Can I make whoopie pies gluten-free?
Yes, you can easily make gluten-free vanilla whoopie pies by substituting the all-purpose flour with a 1:1 gluten-free flour blend. The rest of the recipe remains the same, ensuring you still get soft, fluffy pies without the gluten.
How long can I store whoopie pies?
Whoopie pies can be stored in an airtight container in the fridge for up to 3 days. If you plan to store them longer, you can freeze the unfilled cakes for up to 2 months. Be sure to let them come to room temperature before serving to enjoy the best texture and flavor.
Looking for more helpful tips? Visit our Breakfast section for additional FAQs and recipe advice.
Conclusion: Why You Should Try Baking Vanilla Whoopie Pies
Making vanilla whoopie pies at home is a fun and rewarding experience, offering you the chance to enjoy a classic dessert that’s soft, sweet, and creamy. Whether you follow the traditional recipe or try one of the variations we suggested, you’re sure to impress your friends and family with this delightful treat. They’re versatile enough for any occasion, and with the tips and suggestions provided in this guide, you’ll have no trouble achieving whoopie pie perfection.
For more creative dessert ideas and inspiration, check out The Spruce Eats, where you’ll find plenty of fun and unique recipes to try at home!
