Introduction: Why San Francisco Sourdough Recipe Bread is a Must-Try
San Francisco style sourdough bread has a rich history dating back to the California Gold Rush, making it one of the most iconic types of bread in the United States. It is known for its tangy flavor, chewy crumb, and crispy crust. But what really sets this sourdough apart is the unique climate and wild yeast strains found in the San Francisco Bay area, which contribute to its signature sour taste. If you’ve ever wondered how to make sourdough bread that captures the essence of San Francisco style sourdough, you’re in the right place.
This guide is not just for expert bakers—it’s also perfect for beginners eager to learn the art of making sourdough bread from scratch. Whether you want to bake bread for breakfast, serve it as a side during dinner, or use it for hearty sandwiches during lunch, this San Francisco style sourdough bread recipe will exceed your expectations. With detailed step-by-step instructions, expert tips, and plenty of variations, you’ll be baking like a pro in no time. Plus, we’ll discuss gluten-free and vegan alternatives for those with specific dietary needs.
Fun Fact: The sourdough starter used in San Francisco sourdough bread is often over 100 years old in some bakeries, creating a flavor that cannot be replicated anywhere else in the world.
Ingredients Overview: The Essential Ingredients for San Francisco Style Sourdough Bread
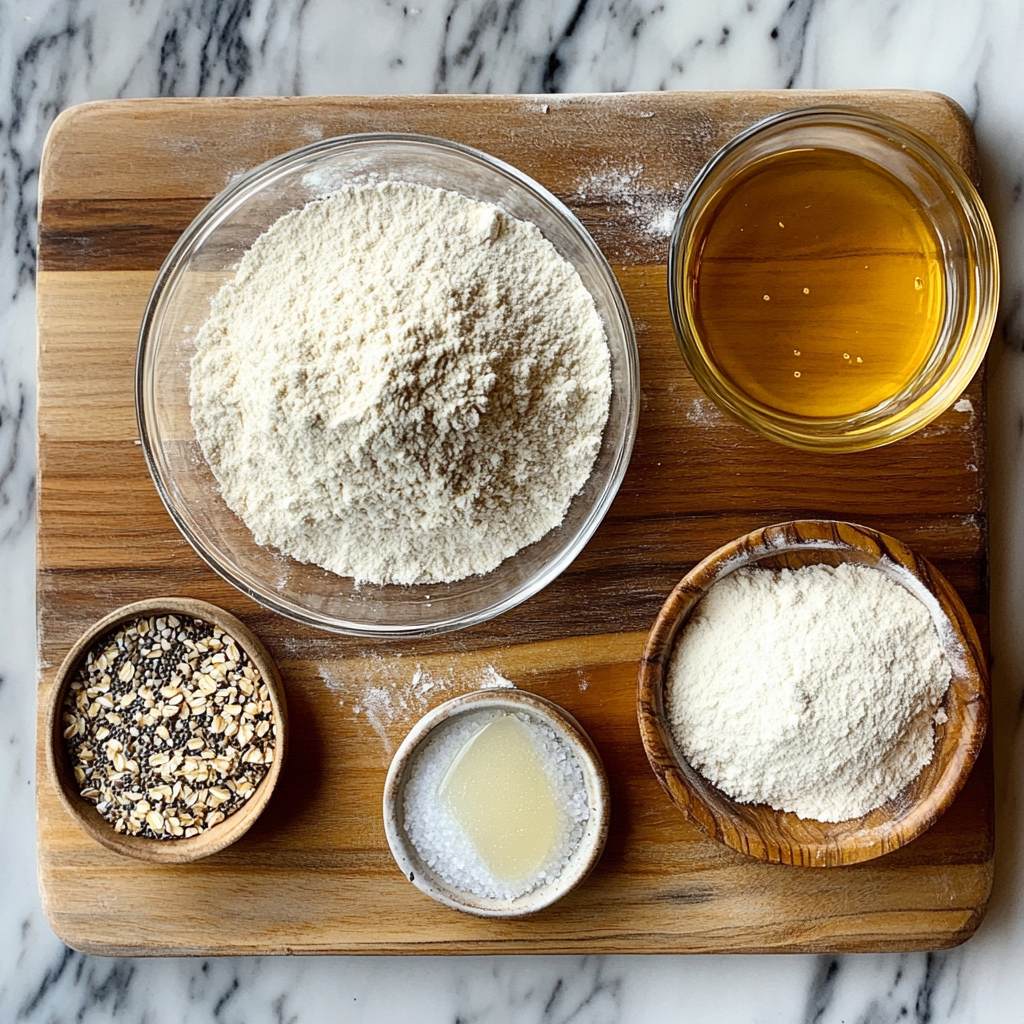
Making the perfect San Francisco style sourdough bread starts with gathering the right ingredients. The balance between simplicity and quality is key here, as each component plays a vital role in shaping the final product. Sourdough bread relies on a careful fermentation process, and the sourdough starter is its heart and soul. Let’s dive into the ingredients and discuss how you can customize them to meet dietary preferences like vegan or gluten-free.
Main Ingredients for San Francisco Style Sourdough Bread:
- Bread Flour: High-protein bread flour is ideal for this recipe because it gives the bread its chewy texture and structure. However, if you don’t have bread flour on hand, all-purpose flour will work in a pinch. To make it gluten-free, you can opt for a high-quality gluten-free flour blend.
- Sourdough Starter: This is the magical ingredient that defines sourdough bread. A sourdough starter is a fermented mixture of flour and water teeming with wild yeast and bacteria that cause the dough to rise naturally. If you don’t have a sourdough starter, making one at home takes about 5-7 days but is well worth the effort.
- Water: Use filtered or bottled water if possible. The quality of your water can affect the fermentation process, and tap water may contain chlorine, which could hinder the yeast in your sourdough starter.
- Salt: Salt enhances the flavor of the bread and also strengthens the dough, making it easier to handle. It’s best to use fine sea salt or kosher salt.
- Optional Ingredients: If you like experimenting with flavors, you can add ingredients like honey (for a sweeter loaf) or seeds (for added texture and nutrients). These are entirely optional but can add extra depth to your sourdough bread.
Substitutions for Dietary Preferences:
- For gluten-free sourdough bread, swap the regular bread flour for a gluten-free blend. Make sure your sourdough starter is also gluten-free by creating it with gluten-free flour.
- To make this recipe vegan, it’s naturally vegan-friendly, as no dairy or animal products are involved. Just ensure that the sourdough starter you use doesn’t contain any non-vegan additives.
If you’re interested in more vegan or gluten-free baking ideas, explore our snacks section where you’ll find a variety of delicious recipes that fit your dietary needs.

Tools Needed: Must-Have Tools for Baking San Francisco Style Sourdough Bread
While you can make sourdough bread with just a few simple tools, having the right equipment can make the process smoother and your results more consistent. To bake authentic San Francisco style sourdough bread at home, you’ll need the following kitchen tools. Don’t worry if you don’t have everything—there are easy alternatives you can use.
Essential Tools for Making Sourdough Bread:
- Mixing Bowl: A large mixing bowl is crucial for mixing the dough. Opt for a non-reactive material like stainless steel, glass, or ceramic to avoid any interference with the fermentation process of your sourdough starter.
- Bench Scraper: This handy tool makes it easier to handle the dough, especially during the shaping phase. It helps you scoop and turn the sticky dough without getting too much on your hands. No bench scraper? A flat spatula can work as a substitute.
- Proofing Basket (Banneton): This is an optional but highly recommended tool for shaping the dough. The proofing basket helps your loaf retain its shape during the final rise. If you don’t have one, you can line a regular bowl with a clean kitchen towel dusted with flour.
- Dutch Oven: A Dutch oven is one of the best ways to bake sourdough bread at home. It mimics the conditions of a professional steam oven, giving you that crispy, golden crust. If you don’t have a Dutch oven, a baking stone with a tray of water for steam will work.
- Kitchen Scale: Measuring ingredients by weight ensures accuracy and consistency. Sourdough bread, especially, requires precision for the best results. If you don’t have a kitchen scale, be sure to measure flour carefully using measuring cups, but remember that weight is always more accurate.
- Lame or Sharp Knife: You’ll need this to score the dough before baking. Scoring allows the bread to expand fully during baking and also gives the loaf a beautiful, artisan appearance. A sharp kitchen knife can work if you don’t have a lame.
Tool Substitutions:
- Instead of a bench scraper, use a silicone spatula or even a butter knife for dough handling.
- No proofing basket? A colander lined with a floured towel works just as well.
- If you don’t own a Dutch oven, place a baking sheet in the oven with a pan of water below it to create steam.
For more recipes that utilize these essential baking tools, be sure to visit our dinner section where we have a collection of hearty bread recipes.
Step-by-Step Instructions: How to Make the Perfect San Francisco Style Sourdough Bread
If you’ve never baked sourdough bread before, don’t worry. The process might seem intimidating at first, but with patience and practice, you’ll be baking like a seasoned pro in no time. Below, we’ll break down the steps into easy-to-follow instructions. Remember, making San Francisco style sourdough bread is an art, and the key to success is giving the dough the time it needs to ferment properly.
Step 1: Prepare Your Sourdough Starter
Your sourdough starter is the heart of this recipe. Before you begin, make sure your sourdough starter is active and bubbly. You should feed it 4-6 hours before using it to ensure it’s at its peak activity level.
Step 2: Mix the Dough
In a large mixing bowl, combine 500g of bread flour, 250g of water, and 100g of your sourdough starter. Stir the mixture until it forms a rough dough. Let the dough sit for 30 minutes to allow the flour to fully hydrate (this process is called autolyse and is crucial for developing the bread’s structure).
Step 3: Add Salt and Water
After the autolyse, sprinkle 10g of sea salt over the dough, and add an additional 25g of water. Use your hands to incorporate the salt and water into the dough. At first, the dough will be sticky, but it will become more elastic as you continue to work it.
Step 4: Knead and Stretch
Begin by kneading the dough on a clean surface for about 10-15 minutes, or until it becomes smooth and elastic. Alternatively, you can use the stretch-and-fold method, which involves stretching the dough and folding it over itself. Do this every 30 minutes over the course of two hours to develop the dough’s strength without extensive kneading.
Step 5: First Rise (Bulk Fermentation)
Place the dough in a clean, lightly oiled bowl and cover it with a damp kitchen towel. Allow the dough to rise at room temperature for 4-6 hours, or until it has doubled in size. The timing will depend on the ambient temperature—warmer conditions will lead to a faster rise, while cooler conditions will slow it down. For San Francisco style sourdough bread, a slow fermentation often yields the best flavor, so don’t rush this step.
Step 6: Shape the Dough
Once the dough has finished its bulk fermentation, turn it out onto a lightly floured surface. Gently shape it into a round loaf by folding the edges into the center, creating surface tension. Be careful not to deflate the dough too much, as you want to preserve the air bubbles formed during fermentation.
Step 7: Second Rise (Final Proofing)
Place your shaped loaf into a proofing basket (or a bowl lined with a towel) with the seam side up. Cover it loosely and allow it to proof for another 2-4 hours at room temperature. Alternatively, you can refrigerate the dough overnight for a longer, slower rise. Cold-proofing enhances the tangy flavor characteristic of San Francisco style sourdough bread.
Step 8: Bake the Sourdough Bread
Preheat your oven to 450°F (230°C) with your Dutch oven inside. Once preheated, carefully remove the Dutch oven and place your dough inside, seam side down. Use a sharp knife or lame to score the top of the dough, creating shallow slashes that will allow the bread to expand fully in the oven. Cover the Dutch oven with its lid and bake for 30 minutes. After 30 minutes, remove the lid and bake for an additional 15-20 minutes, or until the crust is a deep golden brown.
Allow the bread to cool on a wire rack for at least one hour before slicing. This step is crucial, as the bread continues to cook and set during this cooling period.
Looking for more bread-making techniques? Visit our breakfast category for additional recipes that use similar methods and are perfect for morning meals.
Flavor Variations: Customizing Your San Francisco Style Sourdough Bread
One of the joys of making sourdough bread is how customizable it is. Once you’ve mastered the basic recipe for San Francisco style sourdough, you can experiment with various flavors and ingredients to create a loaf that perfectly suits your taste preferences. Whether you’re looking to make your bread vegan, add seeds for extra crunch, or infuse it with herbs, the possibilities are endless.
Vegan Sourdough Bread:
This recipe for San Francisco style sourdough bread is naturally vegan, as it doesn’t contain any animal products. Just be sure to double-check your sourdough starter, especially if you’re using a store-bought version, to ensure it doesn’t contain any non-vegan ingredients.
Herb-Infused Sourdough:
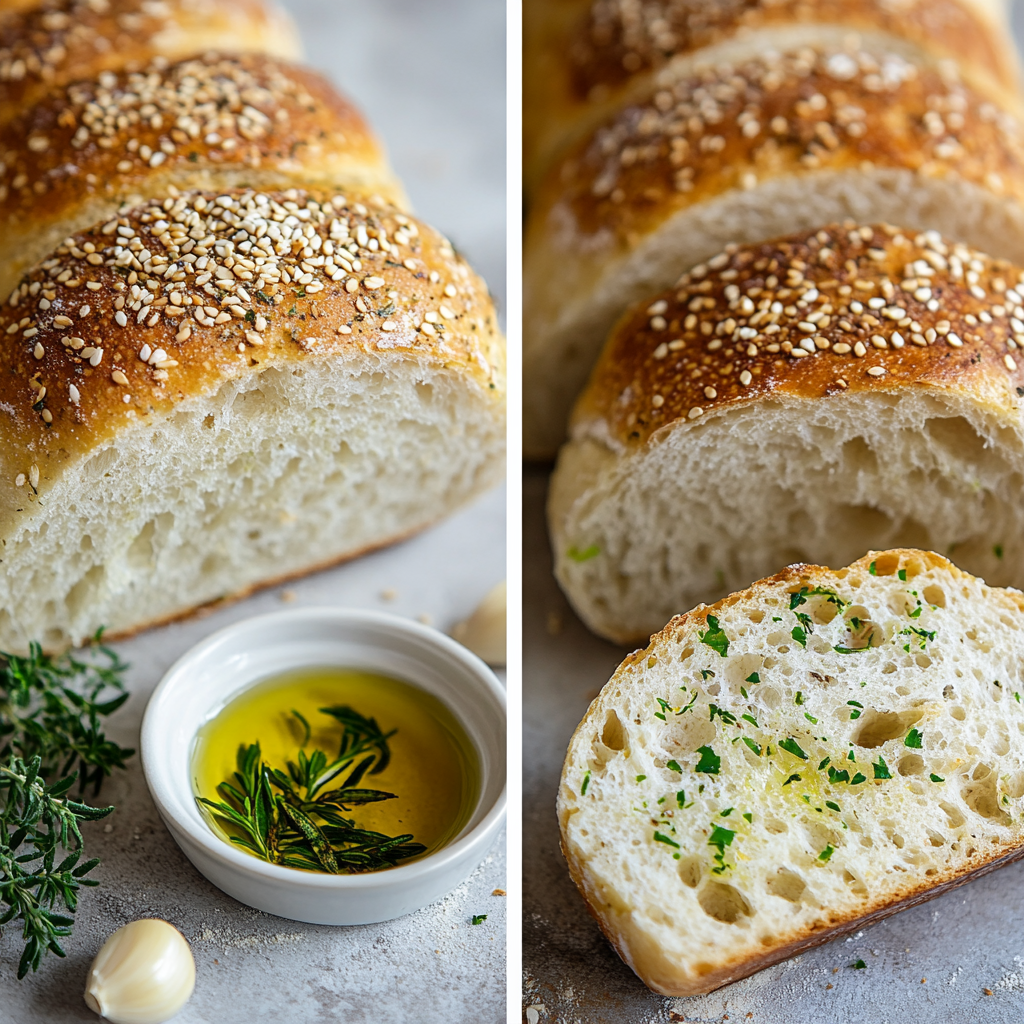
For a fragrant and flavorful loaf, consider adding dried herbs like rosemary, thyme, or oregano to your dough. Simply mix in 1-2 tablespoons of your preferred dried herbs during the initial dough mixing stage. This herb-infused sourdough bread pairs wonderfully with soups and savory dishes.
Seeded Sourdough:
If you want to add texture and nutritional benefits to your bread, consider incorporating seeds like sunflower seeds, sesame seeds, or flaxseeds into your dough. You can either mix the seeds directly into the dough or sprinkle them on top before baking for a beautiful, rustic appearance. Seeded sourdough bread is perfect for sandwiches or as a side with hummus.
Garlic and Herb Sourdough:
Another delicious variation is garlic and herb sourdough bread. Mince 2-3 cloves of garlic and mix them into the dough along with fresh or dried herbs. This variation is perfect for making garlic bread or serving with pasta dishes. The combination of garlic and sourdough’s natural tanginess creates an incredibly savory flavor profile.
For more healthy and creative bread options, check out our snacks section, where you’ll find ideas that are perfect for making tasty and nutritious bread-based snacks.

Expert Tips: Perfecting Your San Francisco Style Sourdough Bread
Baking the perfect loaf of San Francisco style sourdough bread takes a bit of practice, but with these expert tips, you’ll be well on your way to mastering the art. From achieving the perfect crust to avoiding common mistakes, here’s everything you need to know to bake like a pro.
Tip 1: Use a Mature Sourdough Starter
One of the most important factors in making great sourdough bread is using a mature, active sourdough starter. If your sourdough starter is less than a week old, it might not have developed enough strength or flavor to make a great loaf. Ideally, your sourdough starter should be at least two weeks old, with a consistent feeding schedule, to provide the best results.
Tip 2: Don’t Rush the Fermentation
Patience is key when it comes to making sourdough bread, especially San Francisco style sourdough, where the fermentation process is essential for developing its signature tangy flavor. Allowing the dough to rise slowly, especially during the bulk fermentation stage, will result in a loaf with a complex, sour flavor and an airy crumb. Cold-proofing your dough in the refrigerator overnight can help enhance the flavor even further.
Tip 3: Master Hydration Levels
One of the most challenging aspects of sourdough baking is managing the dough’s hydration level. The dough for San Francisco style sourdough bread tends to be more hydrated than typical bread dough, which can make it feel sticky and difficult to handle. Don’t worry—this is normal. Resist the temptation to add too much flour, as a wetter dough will yield a better crumb and texture. With practice, you’ll learn how to handle high-hydration dough more easily.
Tip 4: Achieving the Perfect Crust
For that characteristic crispy, golden crust, you’ll want to bake your bread in a preheated Dutch oven or create steam in your oven. The steam helps the bread expand fully during baking and contributes to the formation of a crunchy, blistered crust. To ensure your crust is well-developed, remove the lid of your Dutch oven during the final 15-20 minutes of baking, allowing the bread to brown evenly.
If you’re interested in learning more about advanced bread-baking techniques, be sure to visit our dinner section, where we share tips on making other artisan bread varieties.
Nutritional Information: The Health Benefits of San Francisco Style Sourdough Bread
One of the great things about sourdough bread, and particularly San Francisco style sourdough, is that it’s not just delicious—it’s also packed with health benefits. Thanks to the fermentation process, sourdough bread is easier to digest than many other types of bread and offers a range of nutritional advantages.
Calories and Macronutrients:
A typical slice of San Francisco style sourdough bread contains around 120-150 calories, depending on the size and thickness of the slice. It’s relatively low in fat, with most of its calories coming from complex carbohydrates, making it a good source of sustained energy.
Fiber Content:
Sourdough bread is a good source of dietary fiber, particularly when made with whole grain or higher-protein bread flours. Fiber is essential for maintaining a healthy digestive system, promoting satiety, and stabilizing blood sugar levels.
Probiotics and Digestive Health:
One of the unique benefits of sourdough bread is the presence of probiotics, which are naturally occurring during the fermentation process. These beneficial bacteria can help improve gut health by supporting the balance of your digestive microbiome. While most of the probiotics are destroyed during baking, some of their beneficial effects remain in the bread.
Glycemic Index:
Sourdough bread has a lower glycemic index (GI) compared to traditional white bread, which means it causes a slower rise in blood sugar levels. This makes it a better choice for individuals concerned with blood sugar management, such as those with diabetes or insulin resistance.
For more information on the health benefits of sourdough bread, check out this authoritative article on the benefits of fermented foods.
Serving Suggestions: What to Pair with Your San Francisco Style Sourdough Bread
San Francisco style sourdough bread is incredibly versatile, and it pairs well with a wide variety of dishes. Whether you’re serving it as part of a main meal or enjoying it as a simple snack, here are a few ideas for how to get the most out of your freshly baked loaf.
Breakfast Pairings:
Sourdough bread is perfect for breakfast. Try toasting it and topping it with smashed avocado, a poached egg, and a sprinkle of sea salt for a nutritious start to the day. For a sweet variation, spread a layer of almond butter or tahini and top it with sliced bananas and a drizzle of honey.
Lunch Ideas:
Use your sourdough bread to make delicious sandwiches for lunch. A simple but classic combination is sourdough with roasted vegetables, hummus, and arugula for a hearty vegetarian sandwich. You can also use it as the base for a tuna melt or a grilled cheese sandwich.
Dinner Sides:
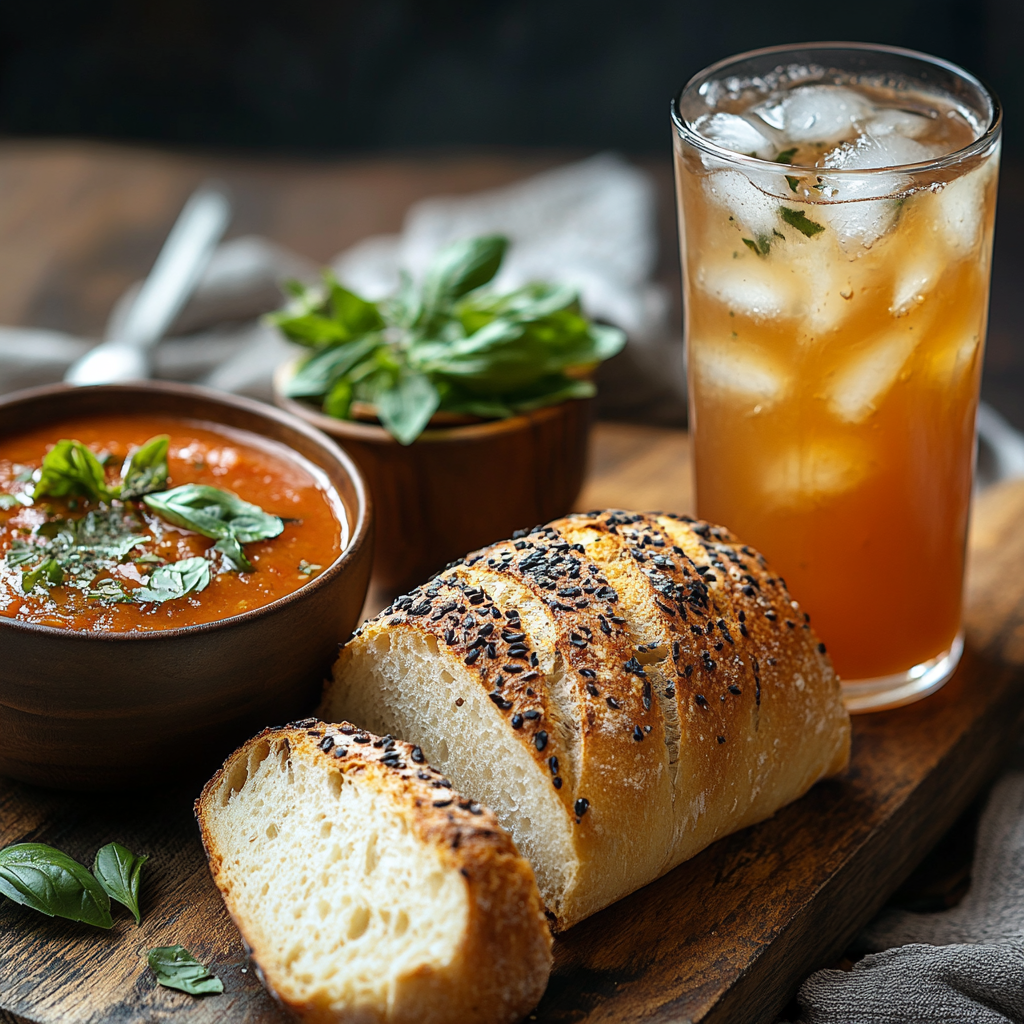
Sourdough bread is a wonderful side dish for dinner. Serve it alongside a bowl of hearty tomato soup, or use it to soak up the sauce from your favorite pasta dish. You can also slice it thinly, brush it with olive oil, and bake it for homemade sourdough croutons, perfect for salads or soups.
For more dinner pairing ideas, visit our dinner section where you’ll find plenty of dishes that go well with sourdough bread.

Storage Tips: How to Keep Your San Francisco Style Sourdough Fresh
After all the effort you’ve put into making your San Francisco style sourdough bread, you’ll want to make sure it stays fresh for as long as possible. Here are some simple tips to ensure your bread lasts and tastes just as good in the days following its bake.
Storing at Room Temperature:
If you plan to consume your bread within a couple of days, store it at room temperature. Place the loaf in a paper bag or wrap it in a clean kitchen towel to allow airflow. This will keep the crust crispy while preventing the bread from becoming soggy. Avoid storing your bread in plastic, as it can cause the crust to soften and become chewy.
Freezing for Later:
Sourdough bread freezes exceptionally well, making it a great option for meal prep or long-term storage. To freeze, slice the loaf and wrap the individual slices in plastic wrap or foil. Then, place the wrapped slices in a resealable freezer bag. When you’re ready to eat the bread, you can thaw the slices at room temperature or toast them directly from frozen.
Reheating for Freshness:
If you want to refresh your sourdough bread and bring back its crispy crust, reheat it in a 350°F (175°C) oven for 10-15 minutes. This works especially well if you’ve stored the bread in the freezer. For added flavor, you can brush the bread with a little olive oil before reheating.
For more tips on making your bread last, explore our breakfast section, where we offer practical advice on storing and reheating baked goods.
FAQs: Common Questions About San Francisco Style Sourdough Bread
If you’re new to making sourdough bread, you probably have a few questions. Below, we’ve answered some of the most common inquiries about San Francisco style sourdough bread, from ingredient substitutions to storage tips.
Can I make sourdough bread without a Dutch oven?
Yes, if you don’t have a Dutch oven, you can use a baking stone or a regular baking sheet with a pan of water placed in the oven to create steam. The steam is essential for developing a crispy crust.
How long does sourdough starter last?
A well-maintained sourdough starter can last indefinitely. Be sure to feed it regularly (once a day if kept at room temperature or once a week if stored in the fridge) to keep it active and healthy.
Can I make sourdough bread ahead of time?
Yes! You can prepare the dough in advance and store it in the fridge overnight for a slow rise. This not only makes the bread more convenient to bake later but also improves the flavor, giving it that classic San Francisco style tang.
For more answers to your sourdough questions, check out our breakfast section where we discuss common baking techniques and tips.
Conclusion: Try This San Francisco Style Sourdough Recipe Today
San Francisco style sourdough bread is a timeless recipe that delivers both flavor and tradition. Whether you’re enjoying it fresh out of the oven, pairing it with a meal, or using it as the base for sandwiches, the tangy, chewy texture of sourdough bread is always a crowd-pleaser. By following this comprehensive guide, you’ll learn how to make sourdough bread that captures the unique flavor and texture of a classic San Francisco loaf.
